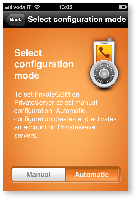
Before you can start using PrivateGSM Professional you have to configure it by choosing Automatic or Manual configuration mode. Choosing Automatic mode PrivateGSM automatically creates an account on PrivateWave servers and bind your mobile phone number to it, so that your contacts can dial you using your mobile number instead of using a new line extension. If you choose Manual mode you will have to provide the SIP server host name and account credentials just like in the case of Enterprise edition.
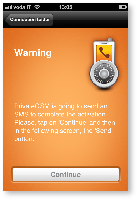
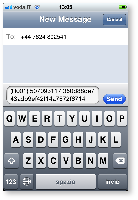
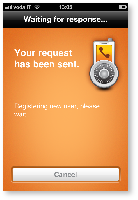
In order to activate Automatic mode PrivateGSM sends an SMS to a PrivateWave UK's number, so be sure that your SIM is enabled to send international SMS. Since this feature is subject to additional costs related to sending an SMS, PrivateGSM asks to the user to confirm the action before proceeding with it.
With an automatic configuration, the application settings are not editable by the user. The user can see only a restricted set of the application settings. The application settings are fully editable only if the SIP account is manually configurated.
BlackBerry
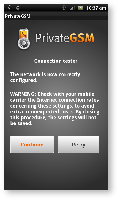
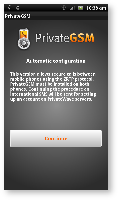
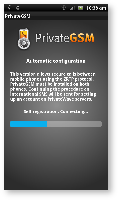
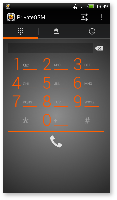
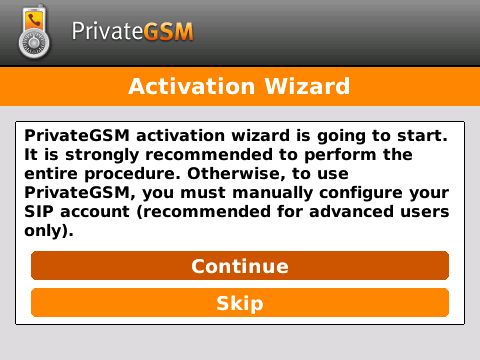
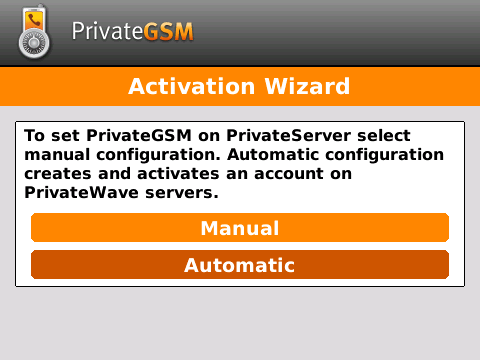
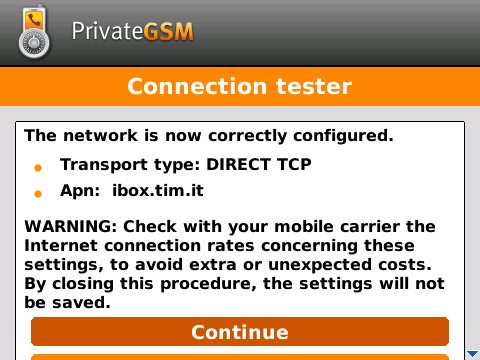
Start the Activation Wizard and select Automatic configuration. Before trying to configure your account, PrivateGSM will check your connection to internet. If the network is correctly configured, PrivateGSM will send an SMS to to a PrivateWave UK's number in order to automatically create and configure a SIP account. When the automatic configuration process is finished, PrivateGSM is ready to use
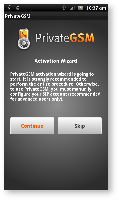
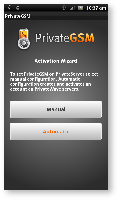
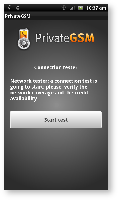
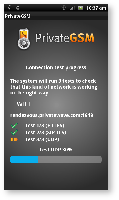
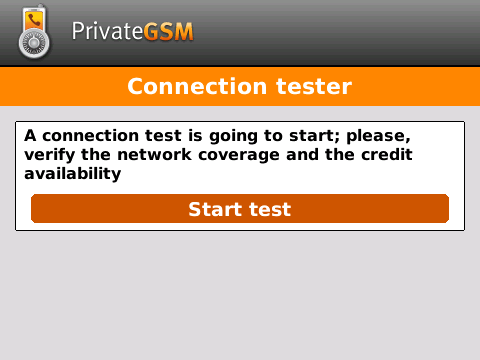
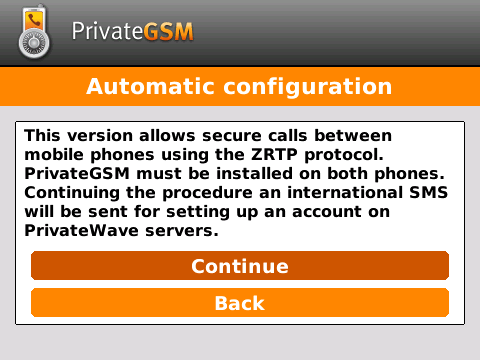
| Step 1 | Step 2 | Step 3 | Step 4 |
|---|---|---|---|
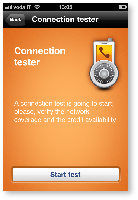
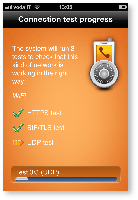
| Start Activation Wizard | Select Automatic configuration | Start connection test | Connection test progress |
 |  |  | 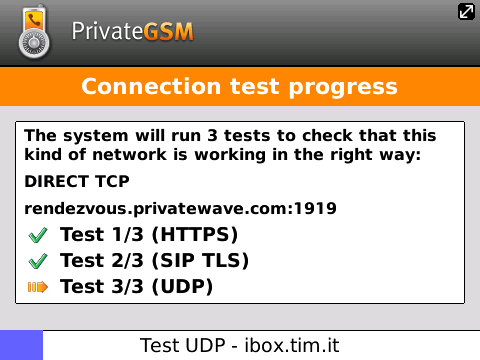 |
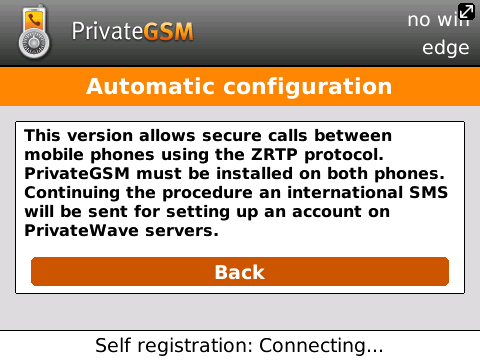
| Step 5 | Step 6 | Step 7 | Step 8 |
|---|---|---|---|
| Connection test result | "Continue" to automatic configuration | Automatic configuration progress | PrivateGSM is ready |
 |  |  |  |
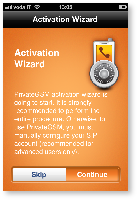
iPhone
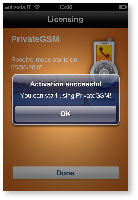
Start the Activation Wizard and select Automatic configuration. Before trying to configure your account, PrivateGSM will check your connection to internet. If the network is correctly configured, PrivateGSM will send an SMS to to a PrivateWave UK's number in order to automatically create and configure a SIP account. When the automatic configuration process is finished, PrivateGSM is ready to use


Android
Start the Activation Wizard and select Automatic configuration. Before trying to configure your account, PrivateGSM will check your connection to internet. If the network is correctly configured, PrivateGSM will send an SMS to to a PrivateWave UK's number in order to automatically create and configure a SIP account. When the automatic configuration process is finished, PrivateGSM is ready to use