2.8.1 Introduction
This job can be completed because of the repositories. A repository is a sort of web site exposing its packages plus dependency informations for each of them. So in order to create the dependency tree, the update software must connect to at least one repository.Since the current version you can update the appliance by user interface (please refer to 3.2 Software Updates). The update process works like this: the software builds a dependency tree in which all the available software are listed and netted in family by their mutual dependency. In this way each new version or new software to be installed is checked against the tree to understand if its installation involves other software packages. Then the update system checks about the availability of each involved software package and at last it actually downloads it and install it in the proper and expected order.
2.8.2 Accessing the repository list
To access to the actual repository list you have to click on the "Software repository" left menu entry, under the section "SERVER CONFIGURATION".
Please note the "Enabled" column which shows you the usable repositories.
Please consider that a value of "False" in the "Enabled" column means that the involved repository won't be used to check for updates and to build the dependency tree!
Each entry in the list can be accessed by clicking on its "Name" (first column as in figure 1. List of repositories).
2.8.3 Create a new repository
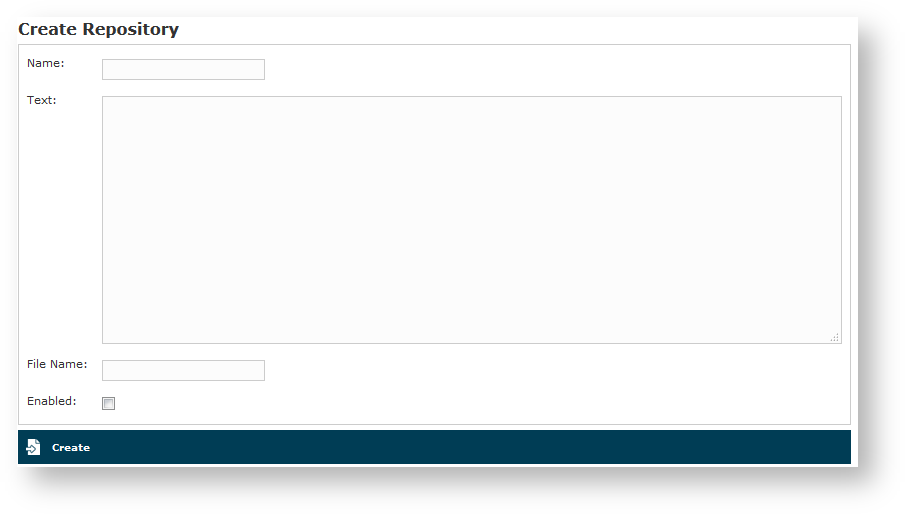
You can create a new repository using the "New Repository" button above the list shown in figure 1. List of repositories.
You better have some data noted on paper before starting with the creation, because the form for a new repository will need:
- Name: the name you give to this repository and the one that will be shown in the list of repositories
- Text: this is where you define all the options to make your repository work fine. Please refer to the official guide to get the necessary background information about setting up a new repository: http://yum.baseurl.org/wiki/RepoCreate
- File Name: The name of the file to be written on the filesystem. This file will contain all the information provided and will be used by the update software
multiple entries are possible!
Please note that is perfectly normal to have multiple repositories in the same file! To join together more than one repository, just specify the same file name and the entry will be concatenated to it.
Even if not mandatory, it's a good practice to name the repository files as something.repo. The ".repo" extensions isn't used by the system, still it can be useful for maintenance purposes.
- Enabled: This is a flag which points out if the system is going to either use this repository or not.
2.8.4 Update one repository
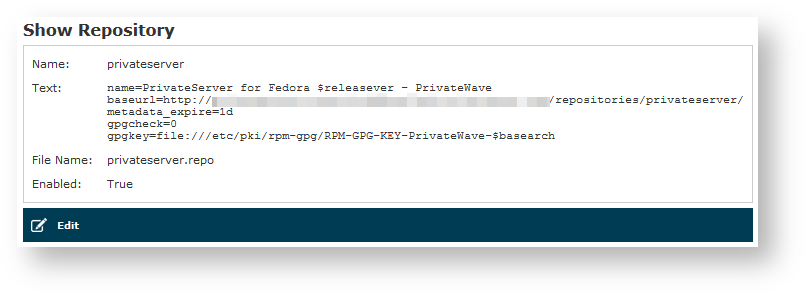
If you need to update one of yours repositories, then start from the figure 2. Configuration of the single repository. You can see the "Edit" button at the bottom of the form.
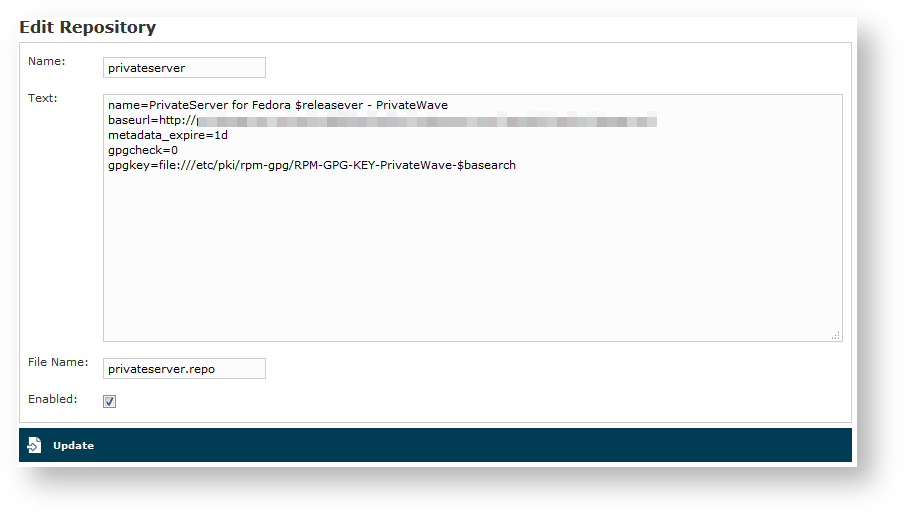
The "Edit Repository" form will appear as in figure 6. Edit one repository. Change anything you need and then press the "Update" button at the bottom of the form.
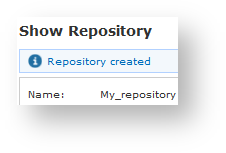
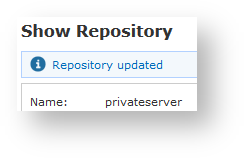
You are going to read the "Show repository" form (as in figure 2. Configuration of the single repository) with a message informing you that the update has been performed (please refer to figure 7. Your repository has been updated!)
2.8.5 Delete one repository
You can't delete any repository from the User Interface. Instead you can disable any of them at your wish. In order to wipe out any reference to any repository you need to access to the appliance by ssh remote console and manually change the file to delete the interested entry.

