This guide provides you easy step-by-step instructions to help you get started with PrivateWave .
Secure calls with PrivateWave
Calling with PrivateWave is a very easy task. You can both use your contact list or directly dial a number using the dialpad.
To make a secure call, you and the called party must have PrivateWave software running on the mobile device, be connected to the Internet and to the same PrivateServer .
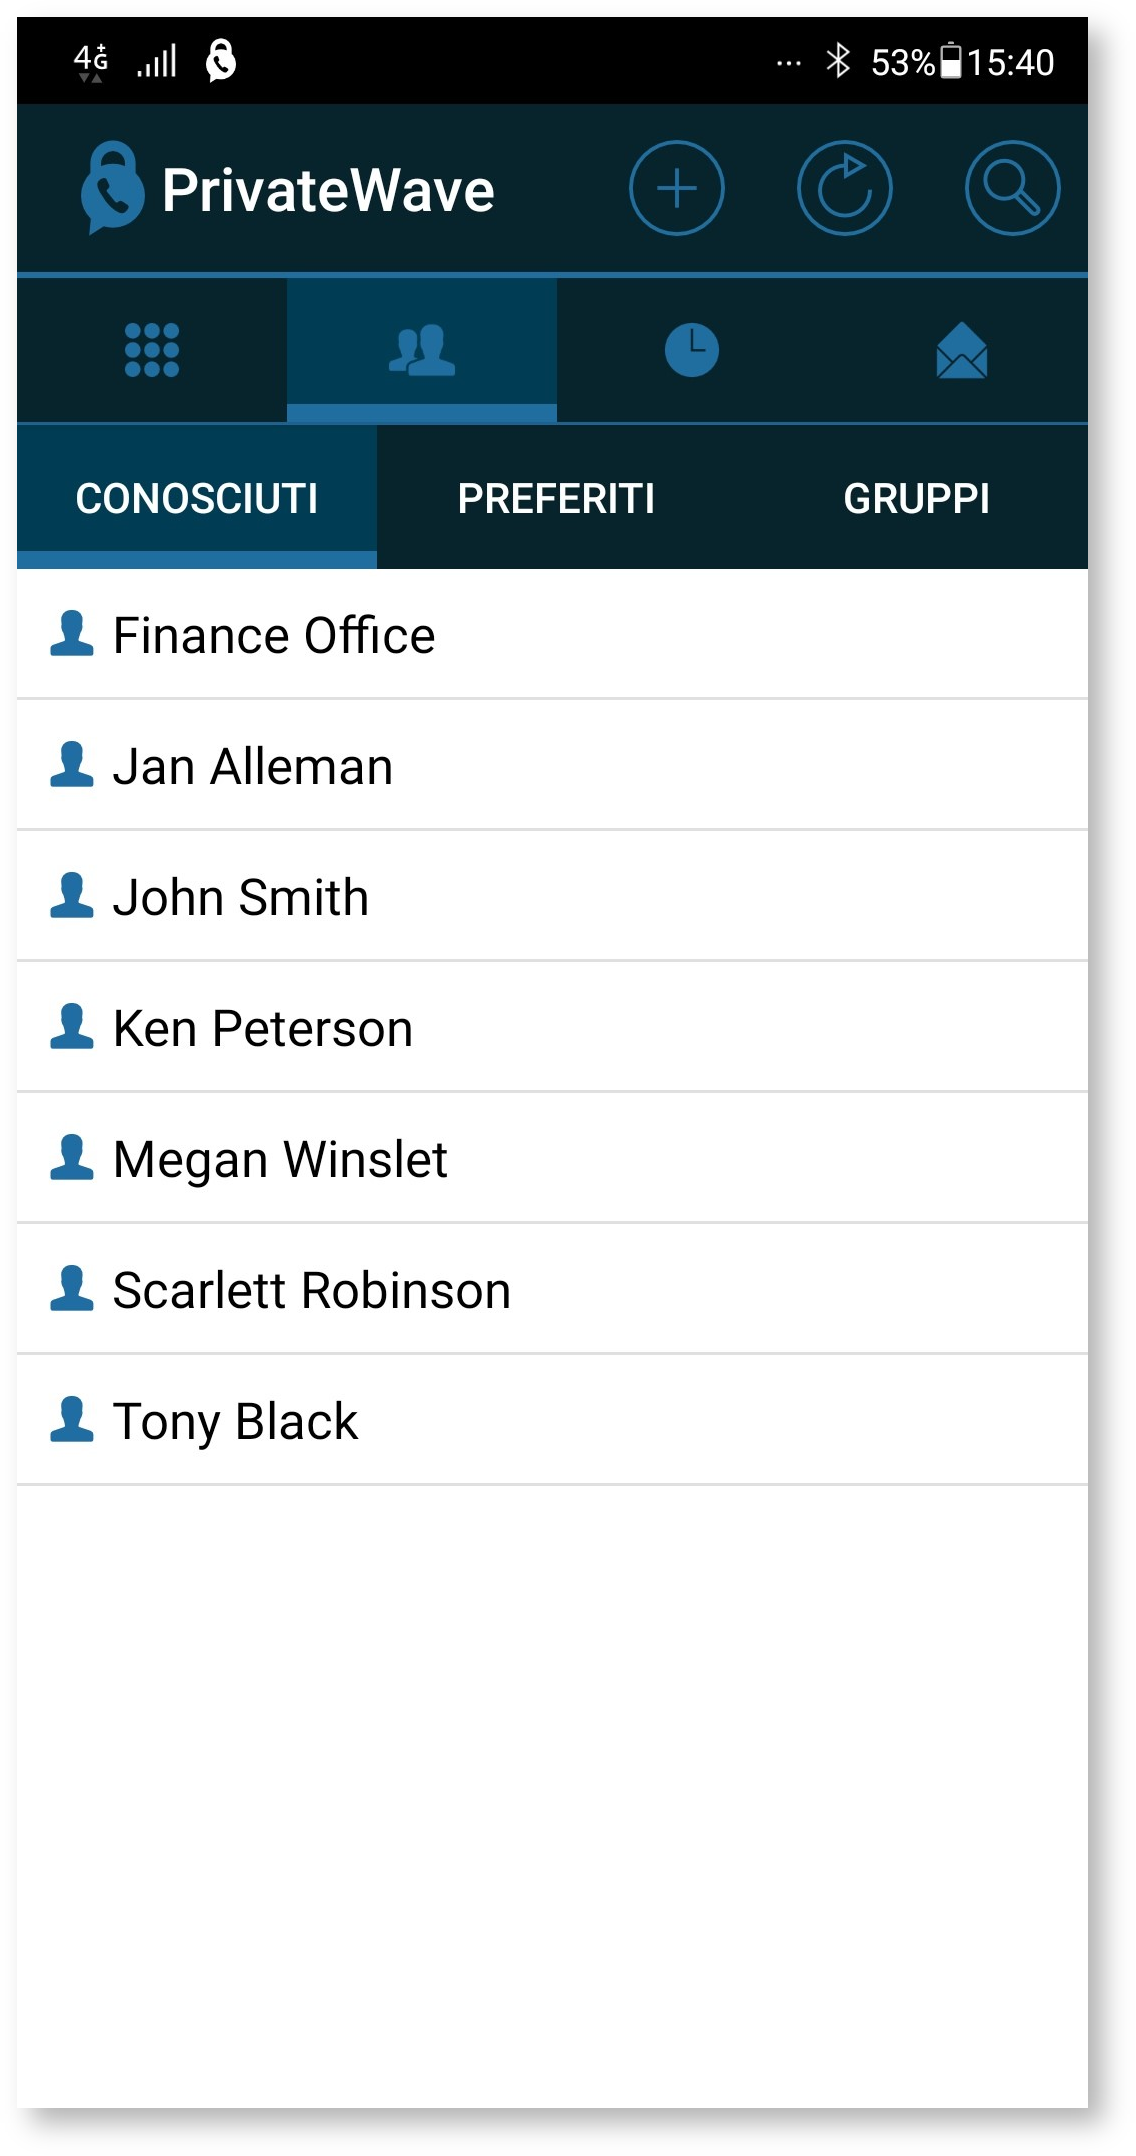
Calls from the Contact list
By selecting the Contacts tab, the contacts in the device's address book that have PrivateWave installed are displayed:
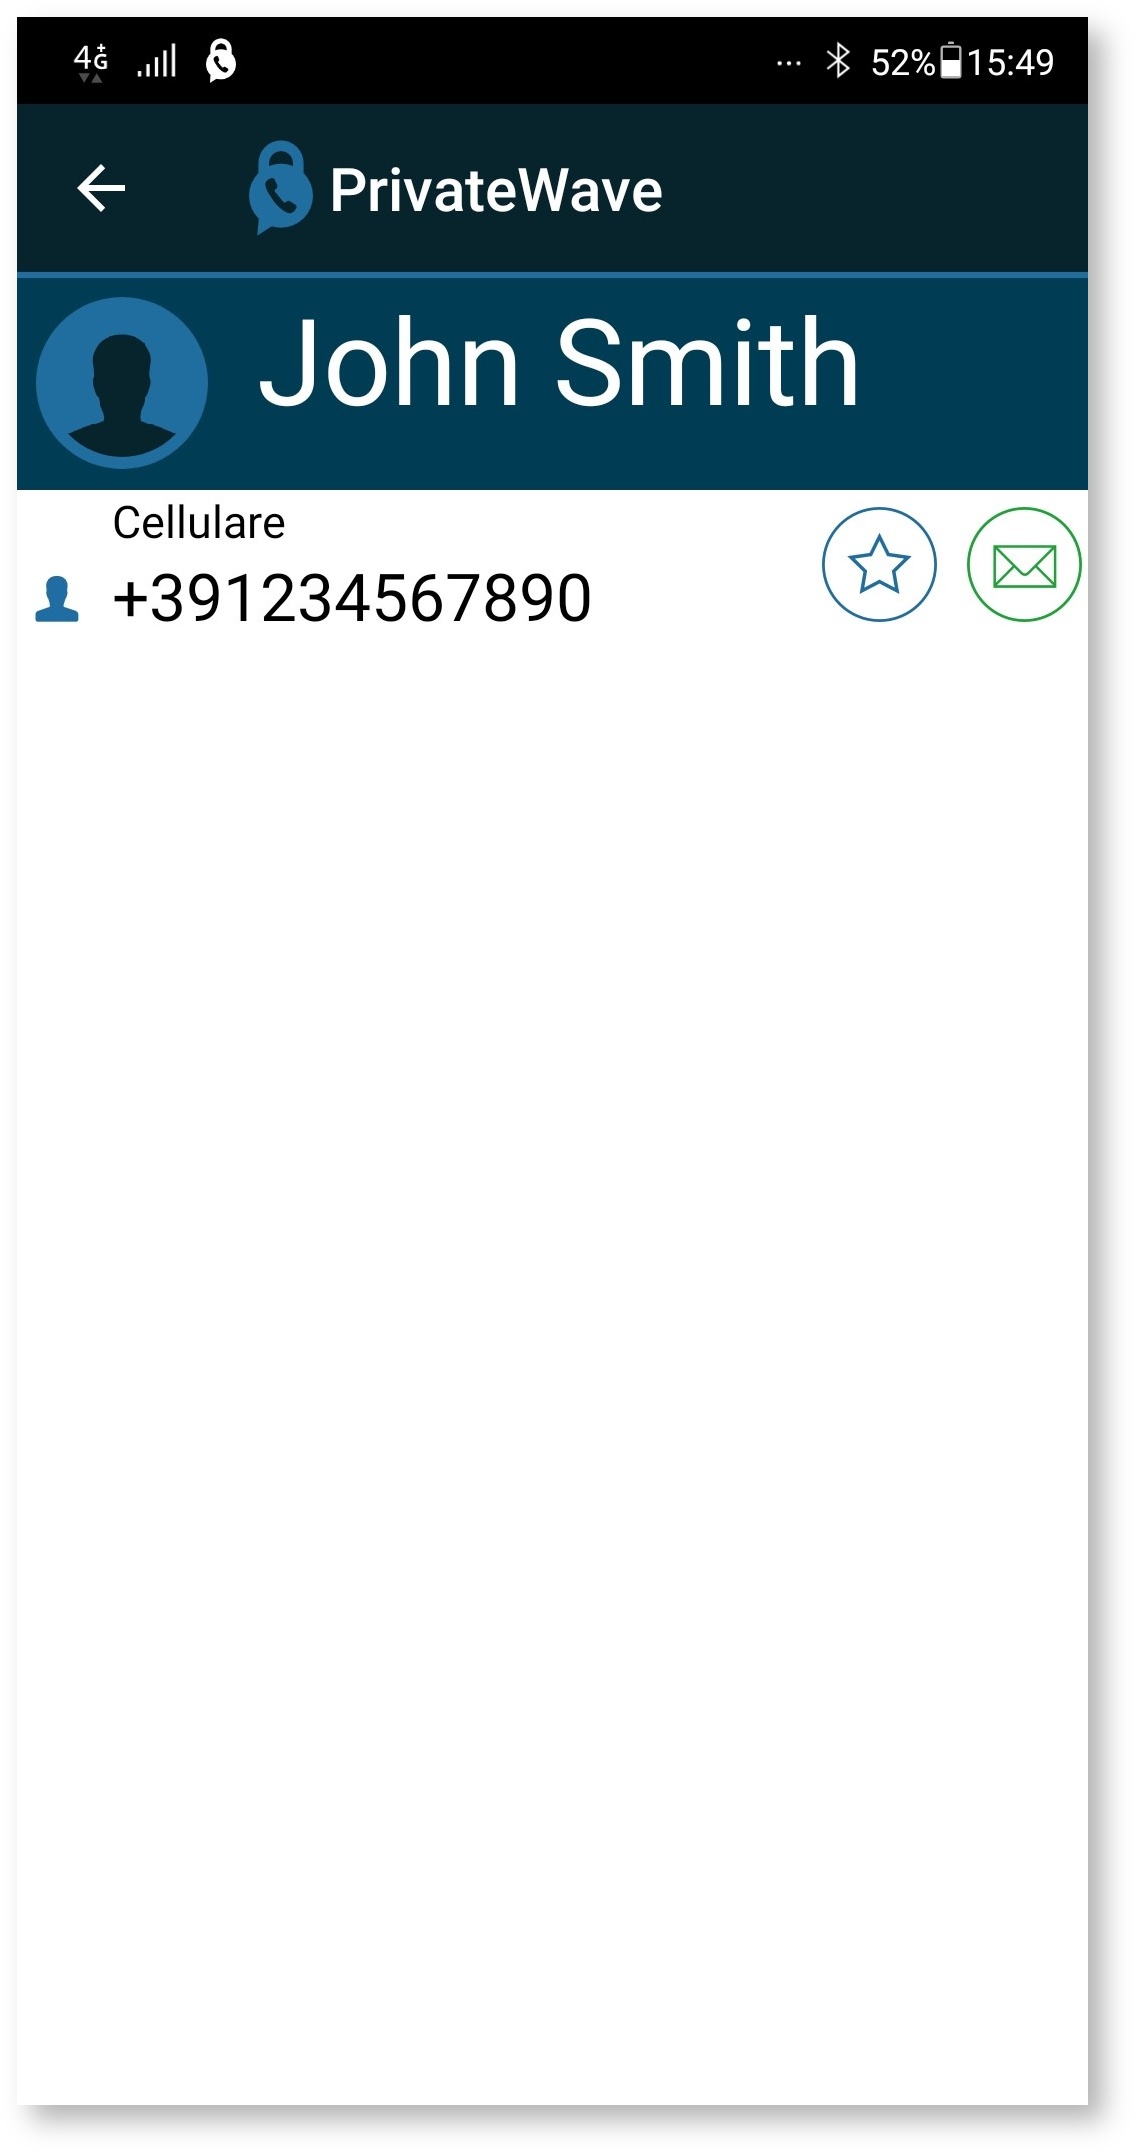
Once a contact has been selected, the detail view appears and a call is automatically made by clicking on the contact's phone number:
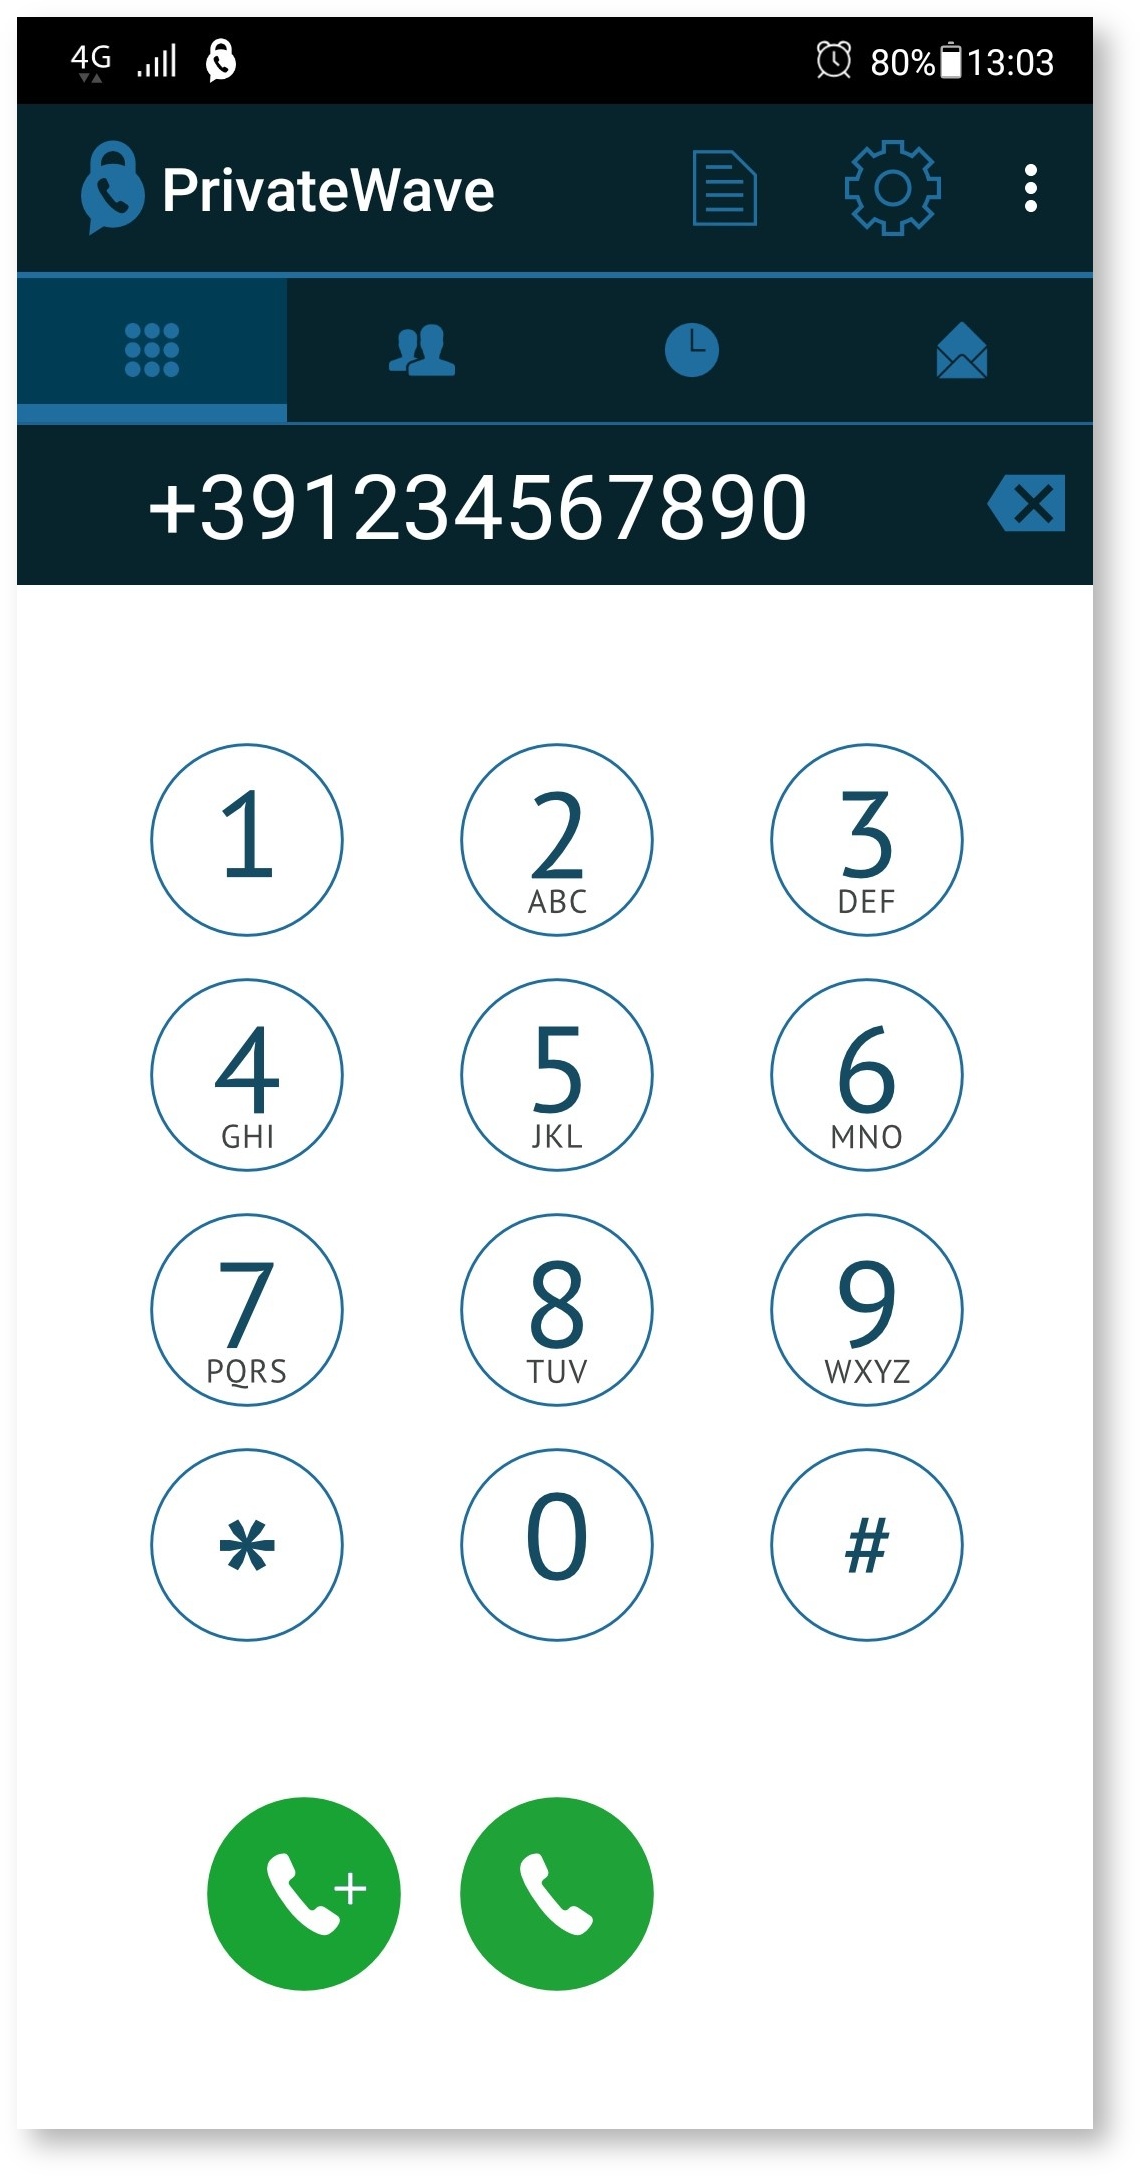
Calls from keyboard
You can make a Secure Call by selecting the Keypad from the tab bar and then entering the number to call:
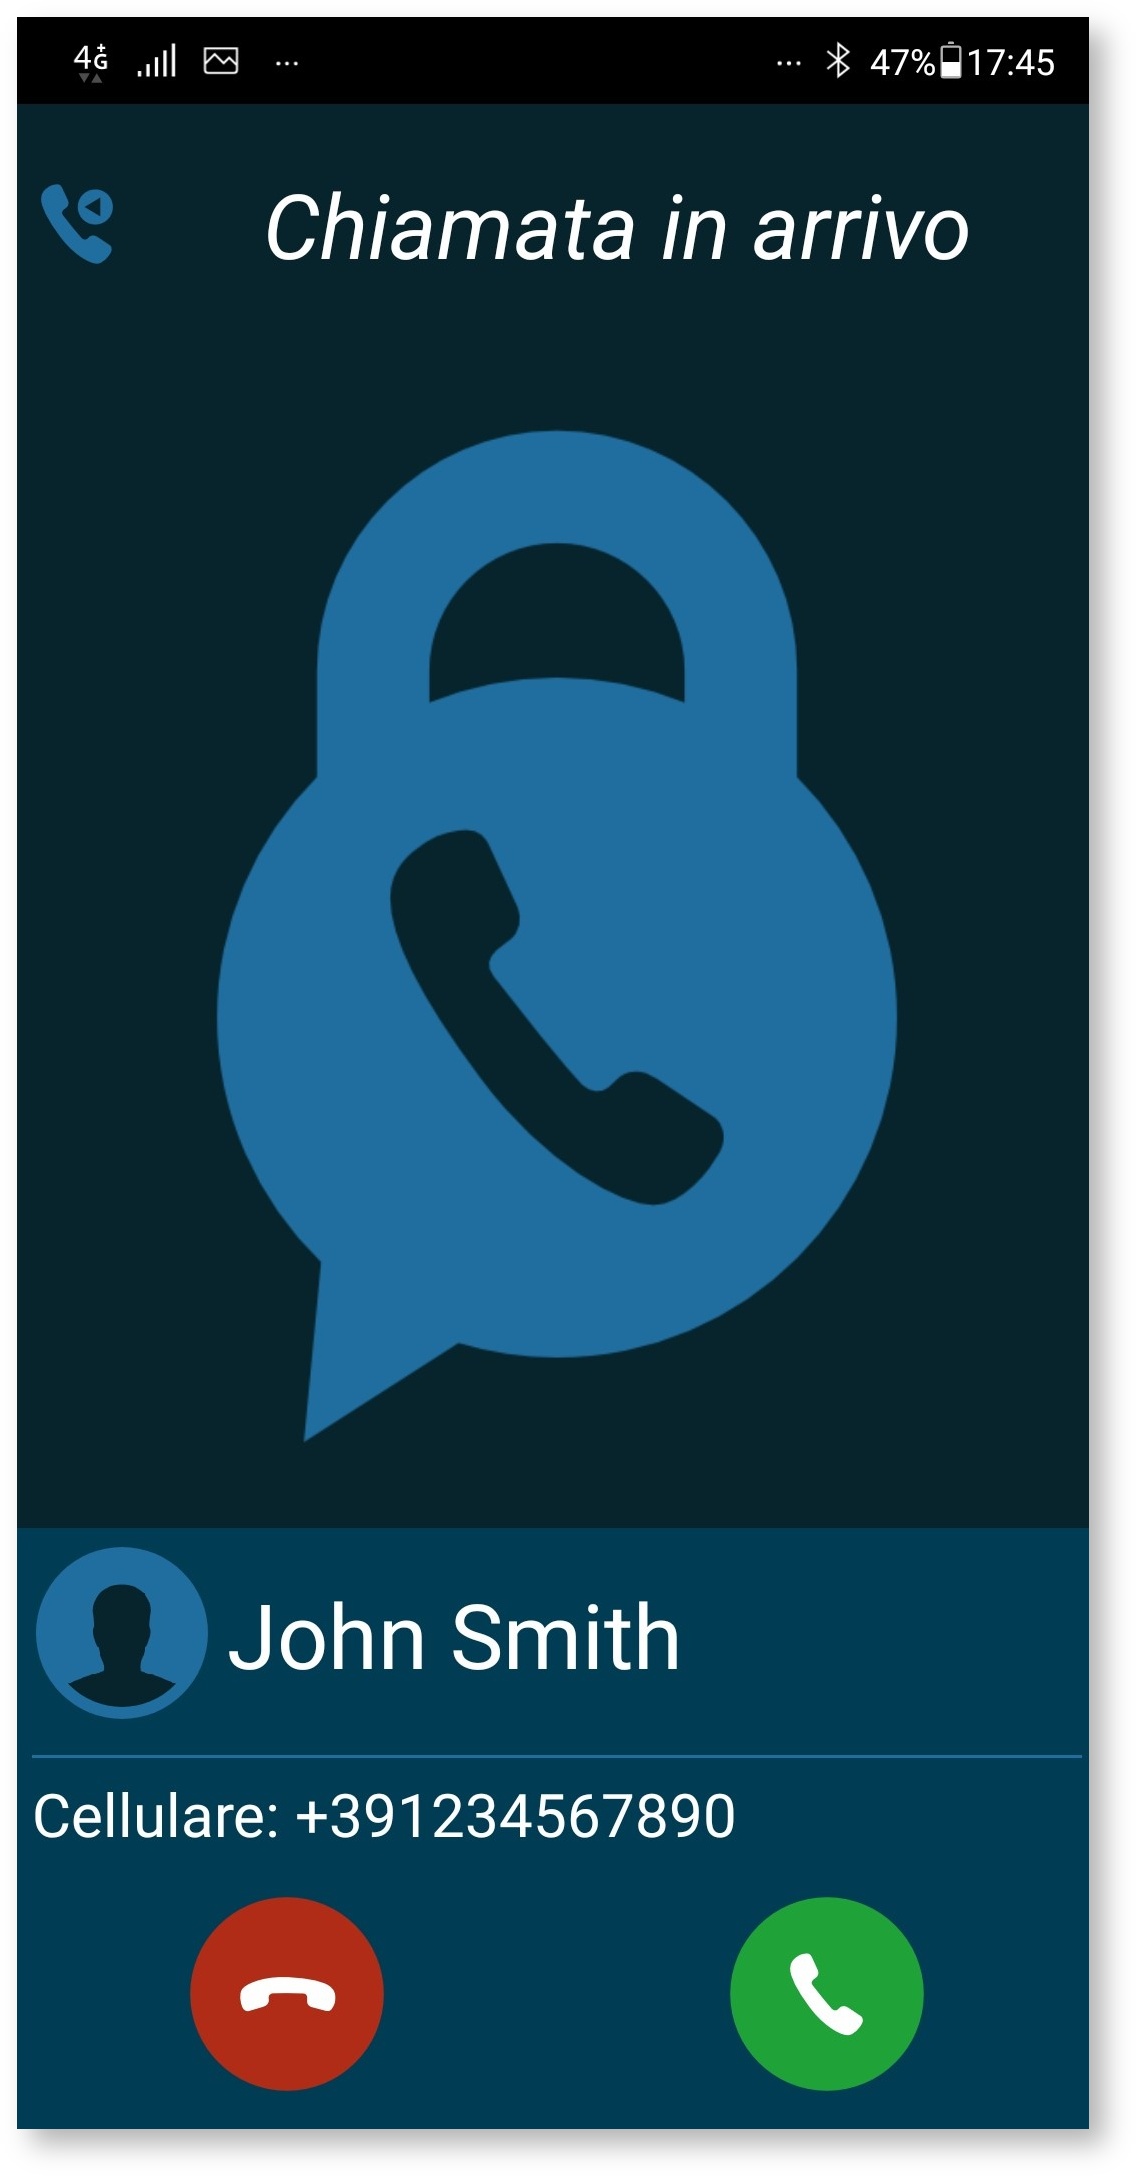
Receive Secure Calls with PrivateWave
Once PrivateWave is installed and all settings are configured correctly on the device you will be able to receive Secure Calls. When a Secure Call is incoming the application is brought to the foreground, so you can accept or reject the call:
After the applications of the two users have exchanged and verified the security keys you can start the conversation.
Security control
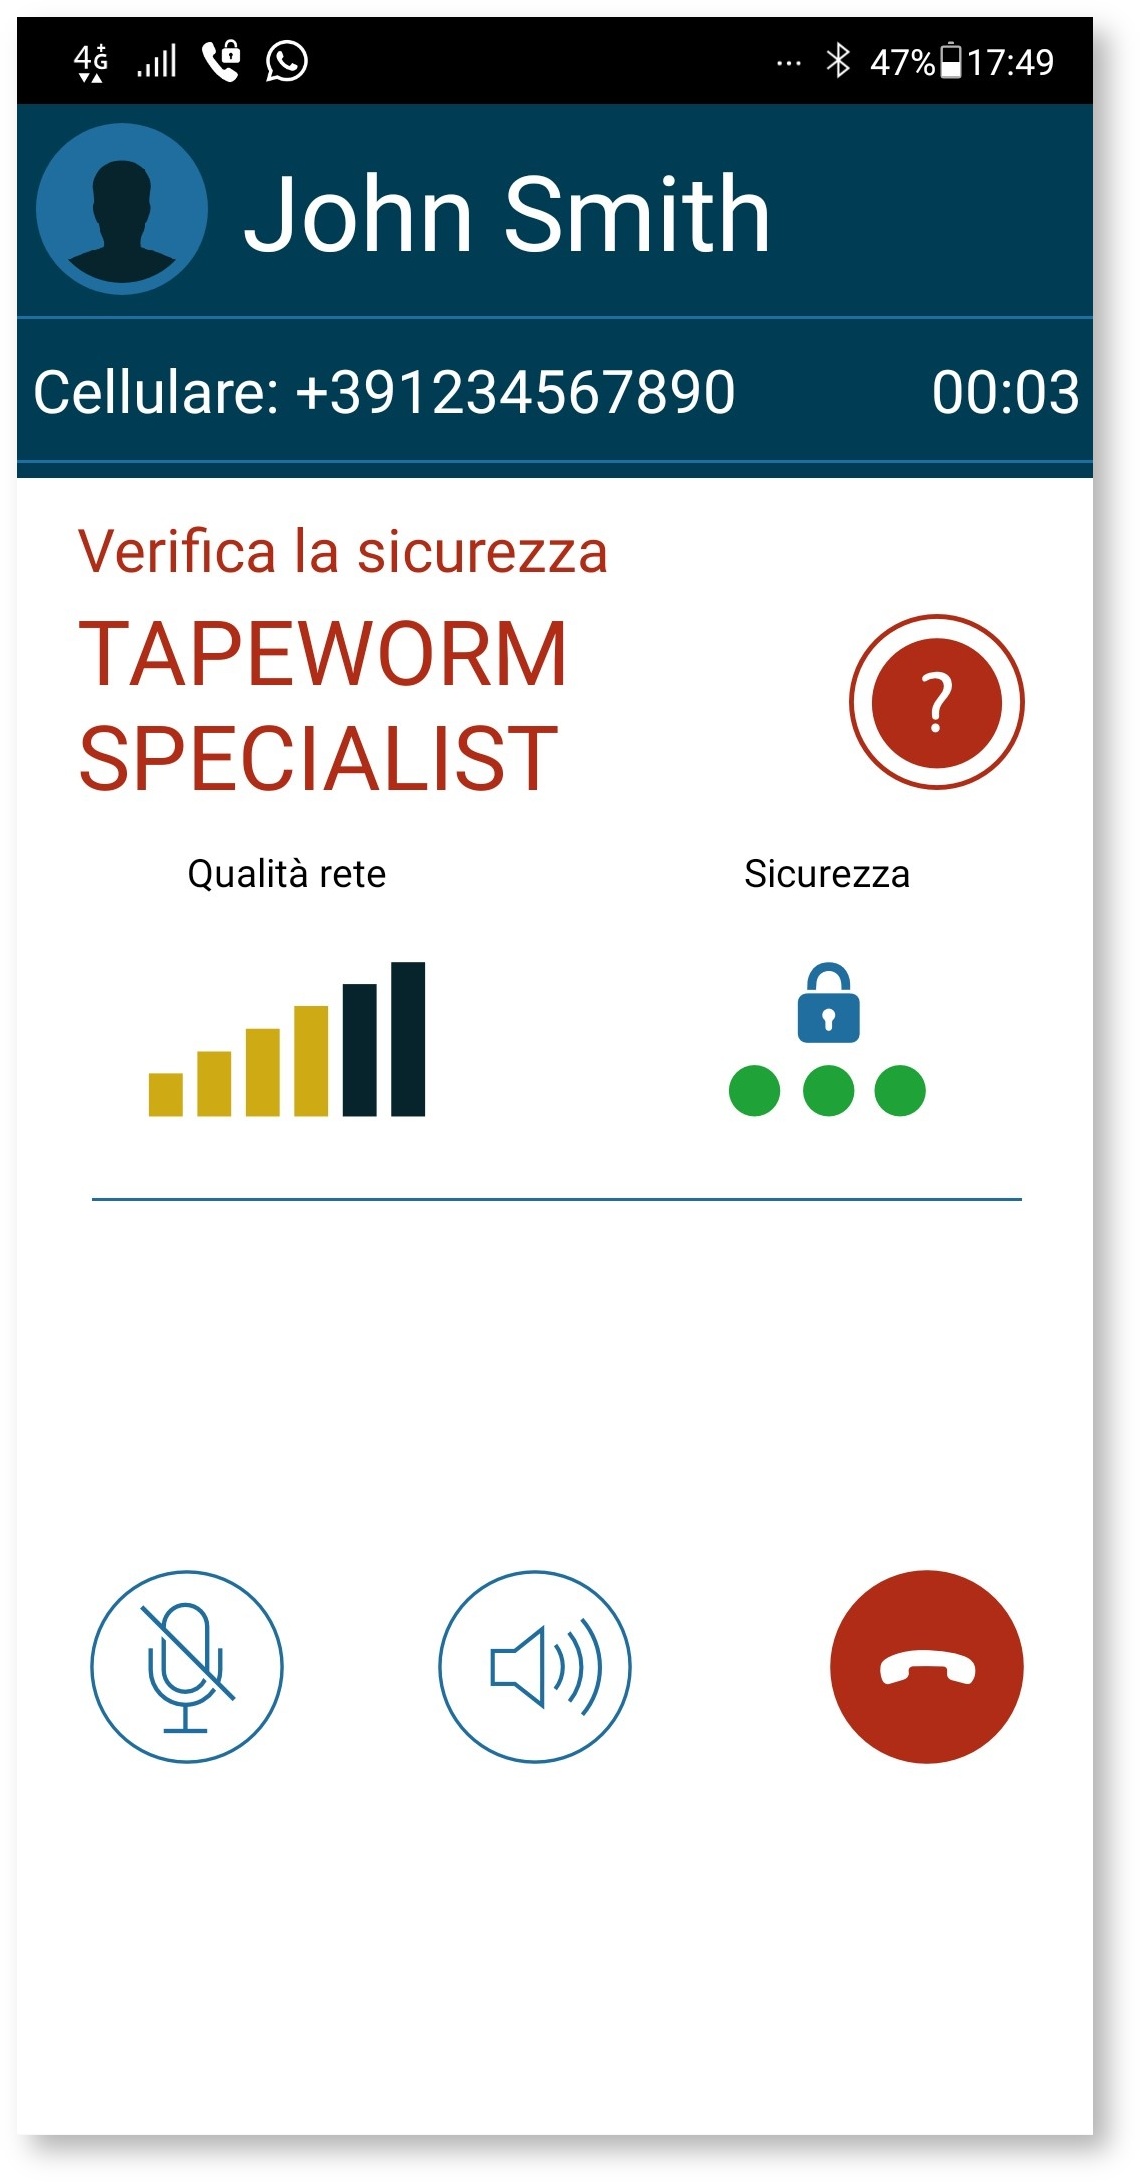
A PrivateWave phone call is always encrypted. The protocol provides verbal verification of two keywords displayed at the beginning of the conversation. If both parties see the same keywords, then the call is secured:
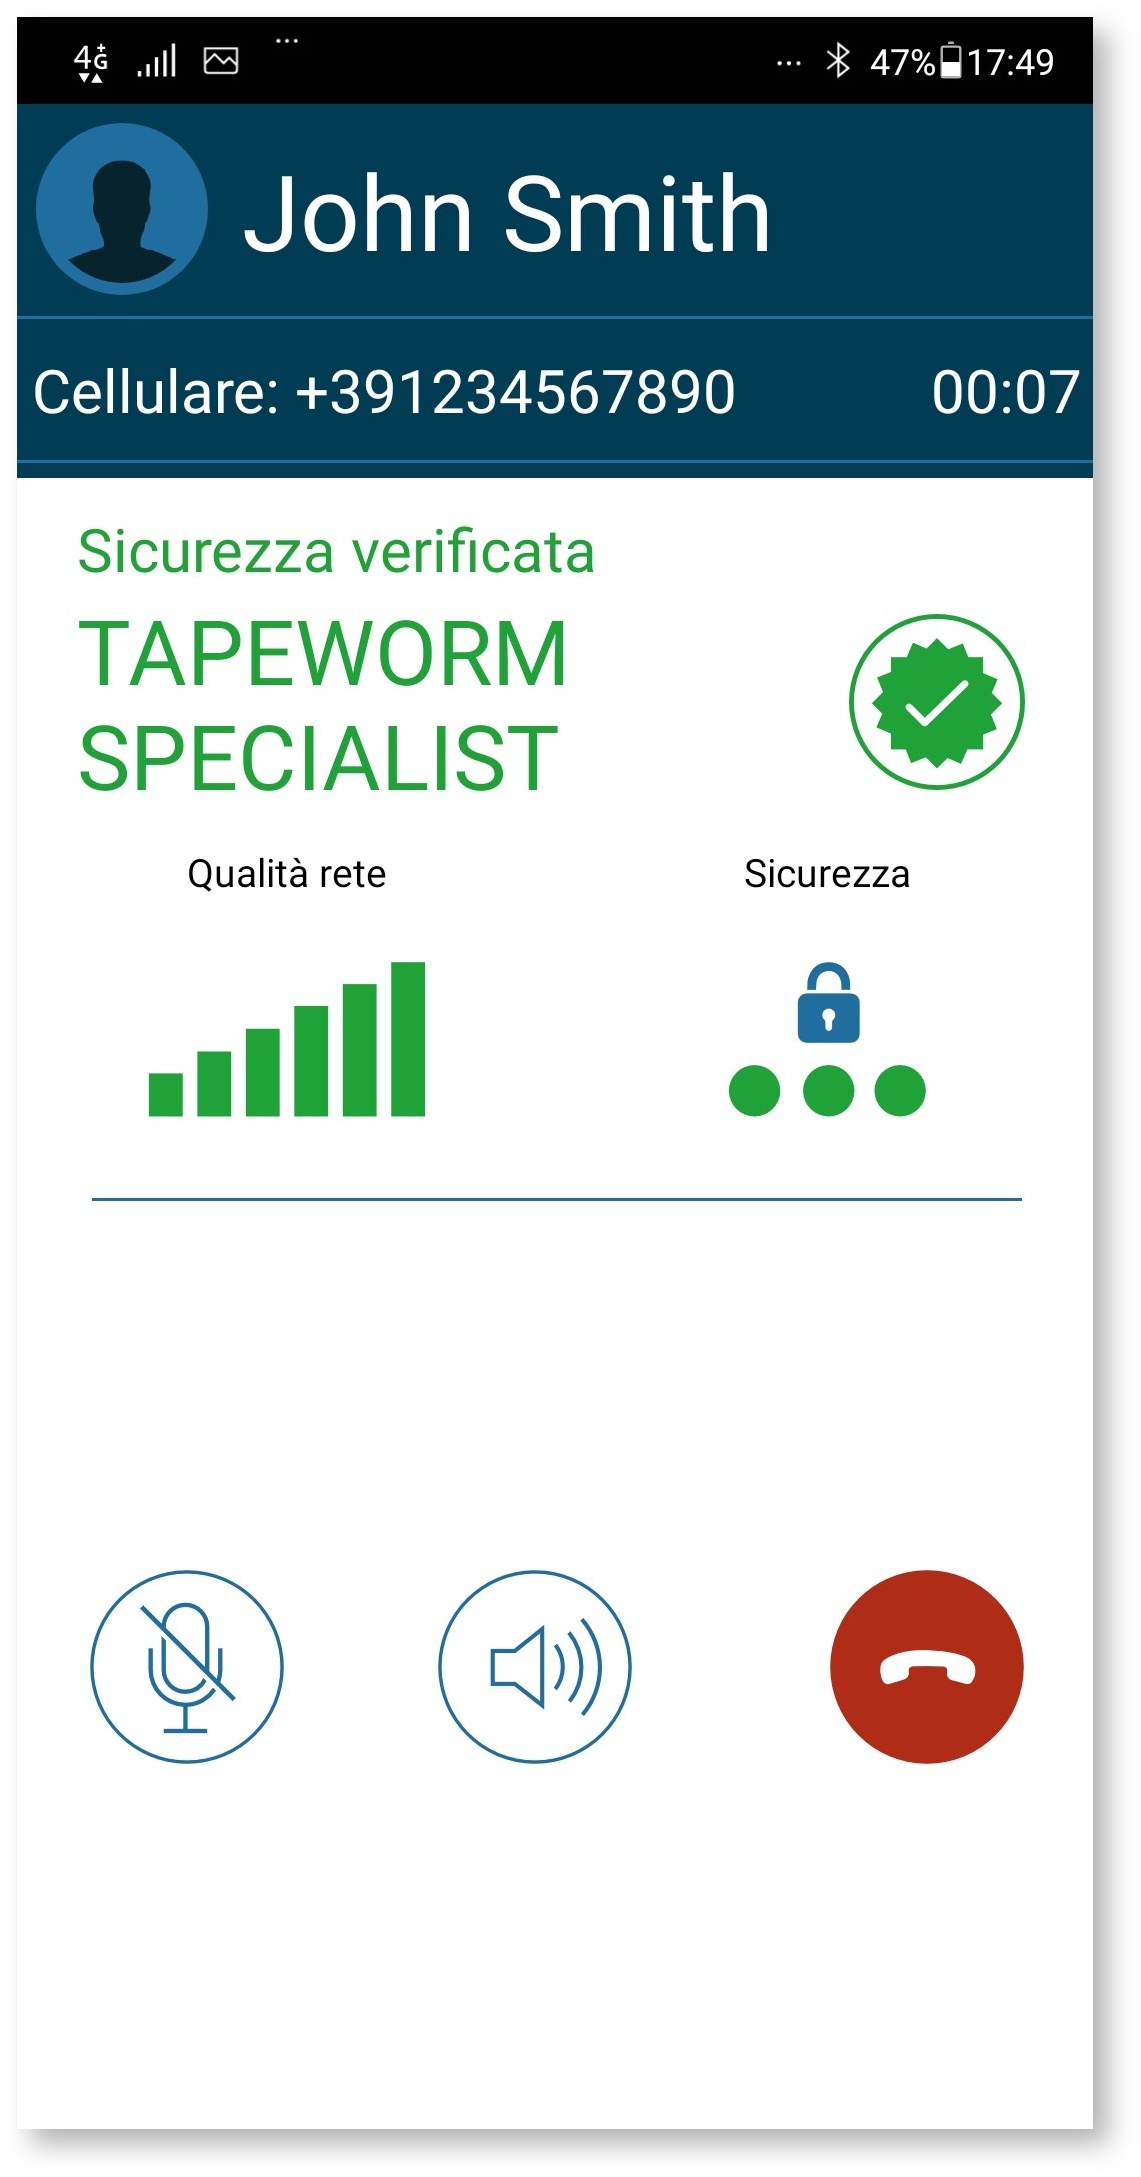
After verbally verifying the keywords you can mark the contact as "reliable" by clicking on the red question mark. Verbal verification is not necessary for subsequent conversations and the keywords will be displayed in green:
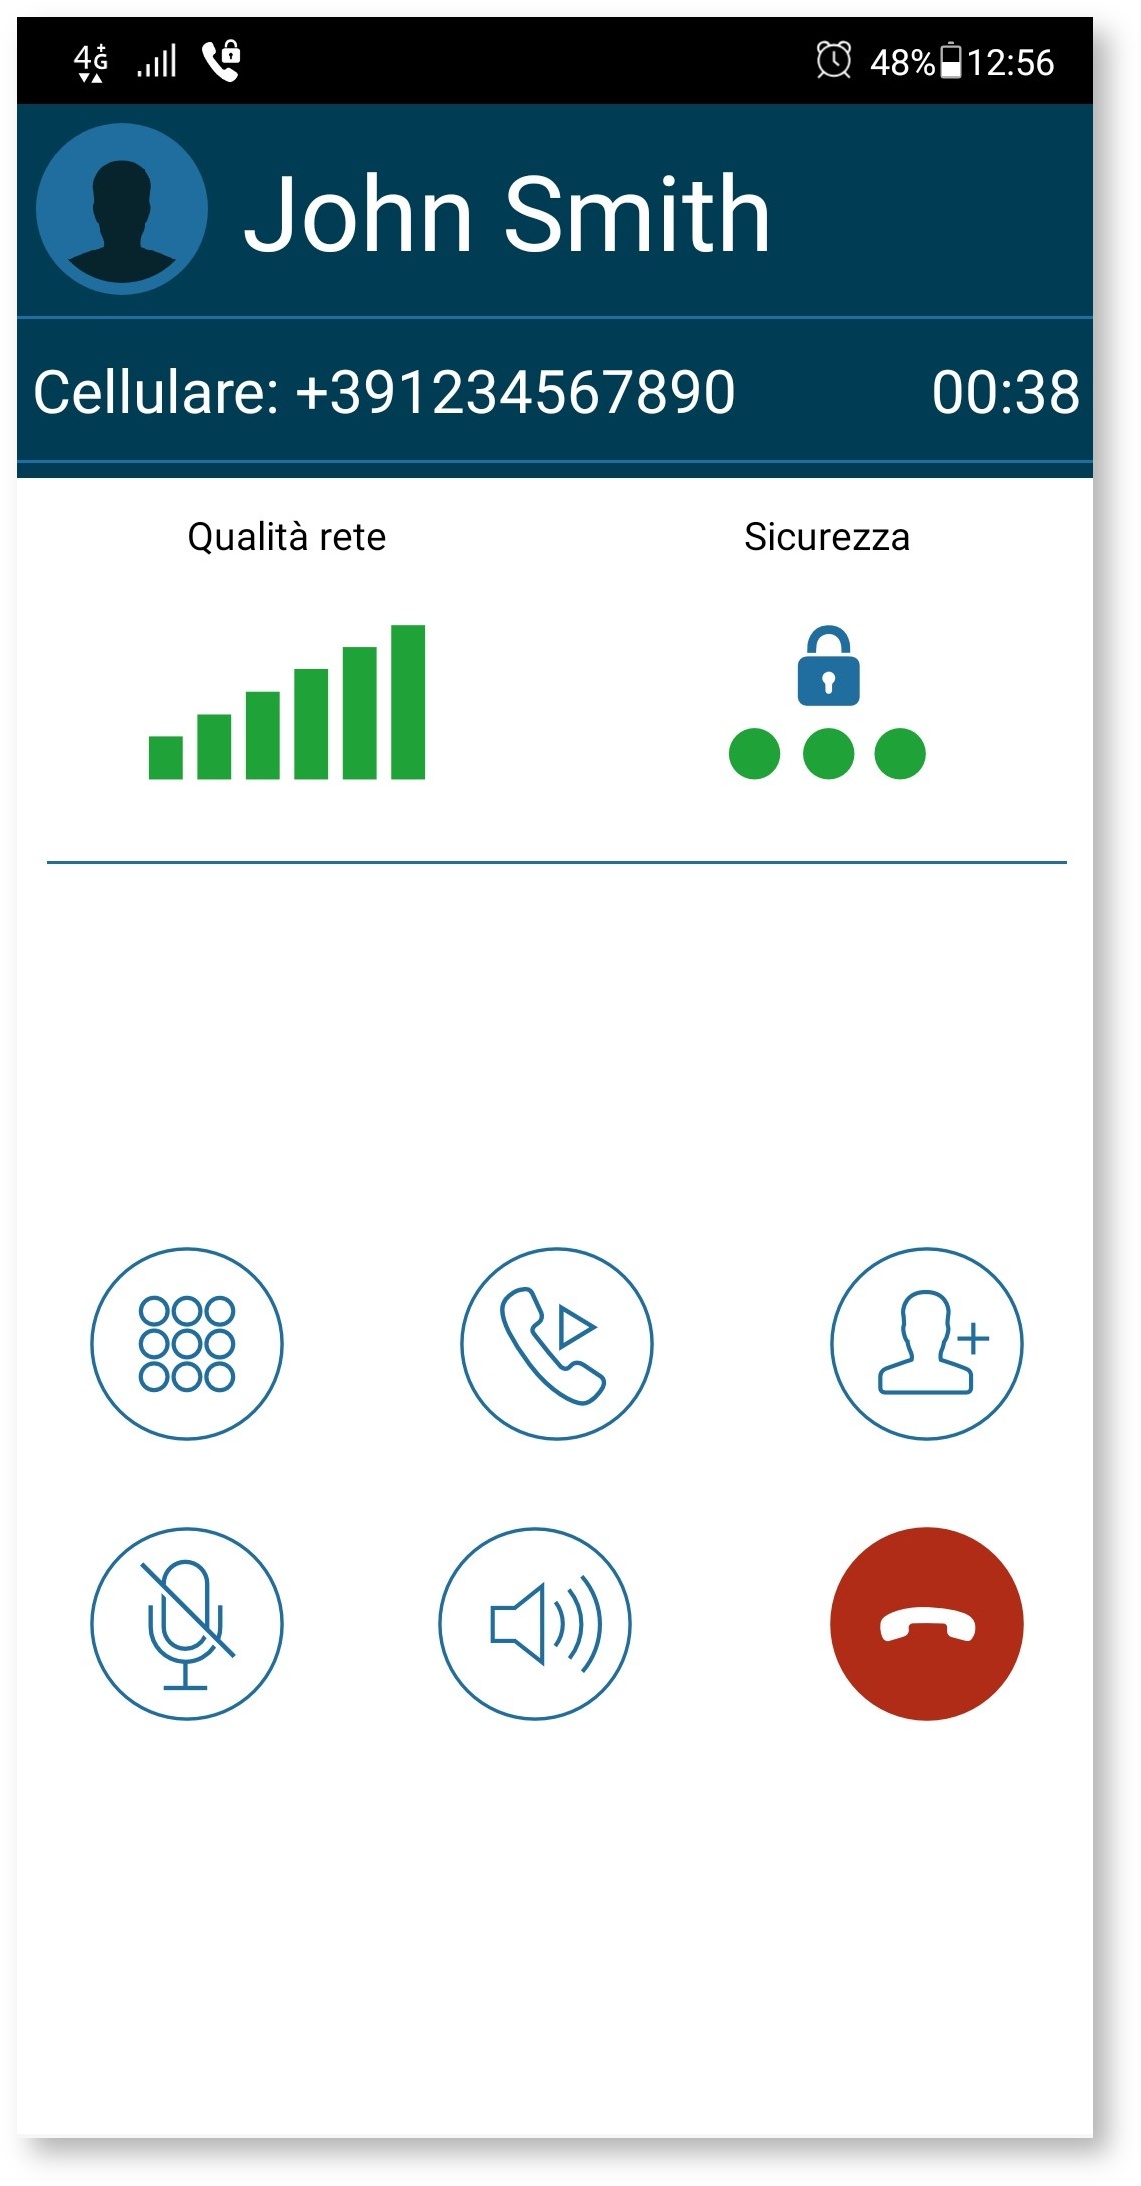
In the case of calls to and from a landline telephone system, conference room or three-way call there are no keywords but only the security indicator. Buttons are also available for additional call transfer and three-way call services:
Sending Secure Messages with PrivateWave
In addition to making secure calls you can communicate with users using PrivateWave through Secure Messages end-to-end encrypted.
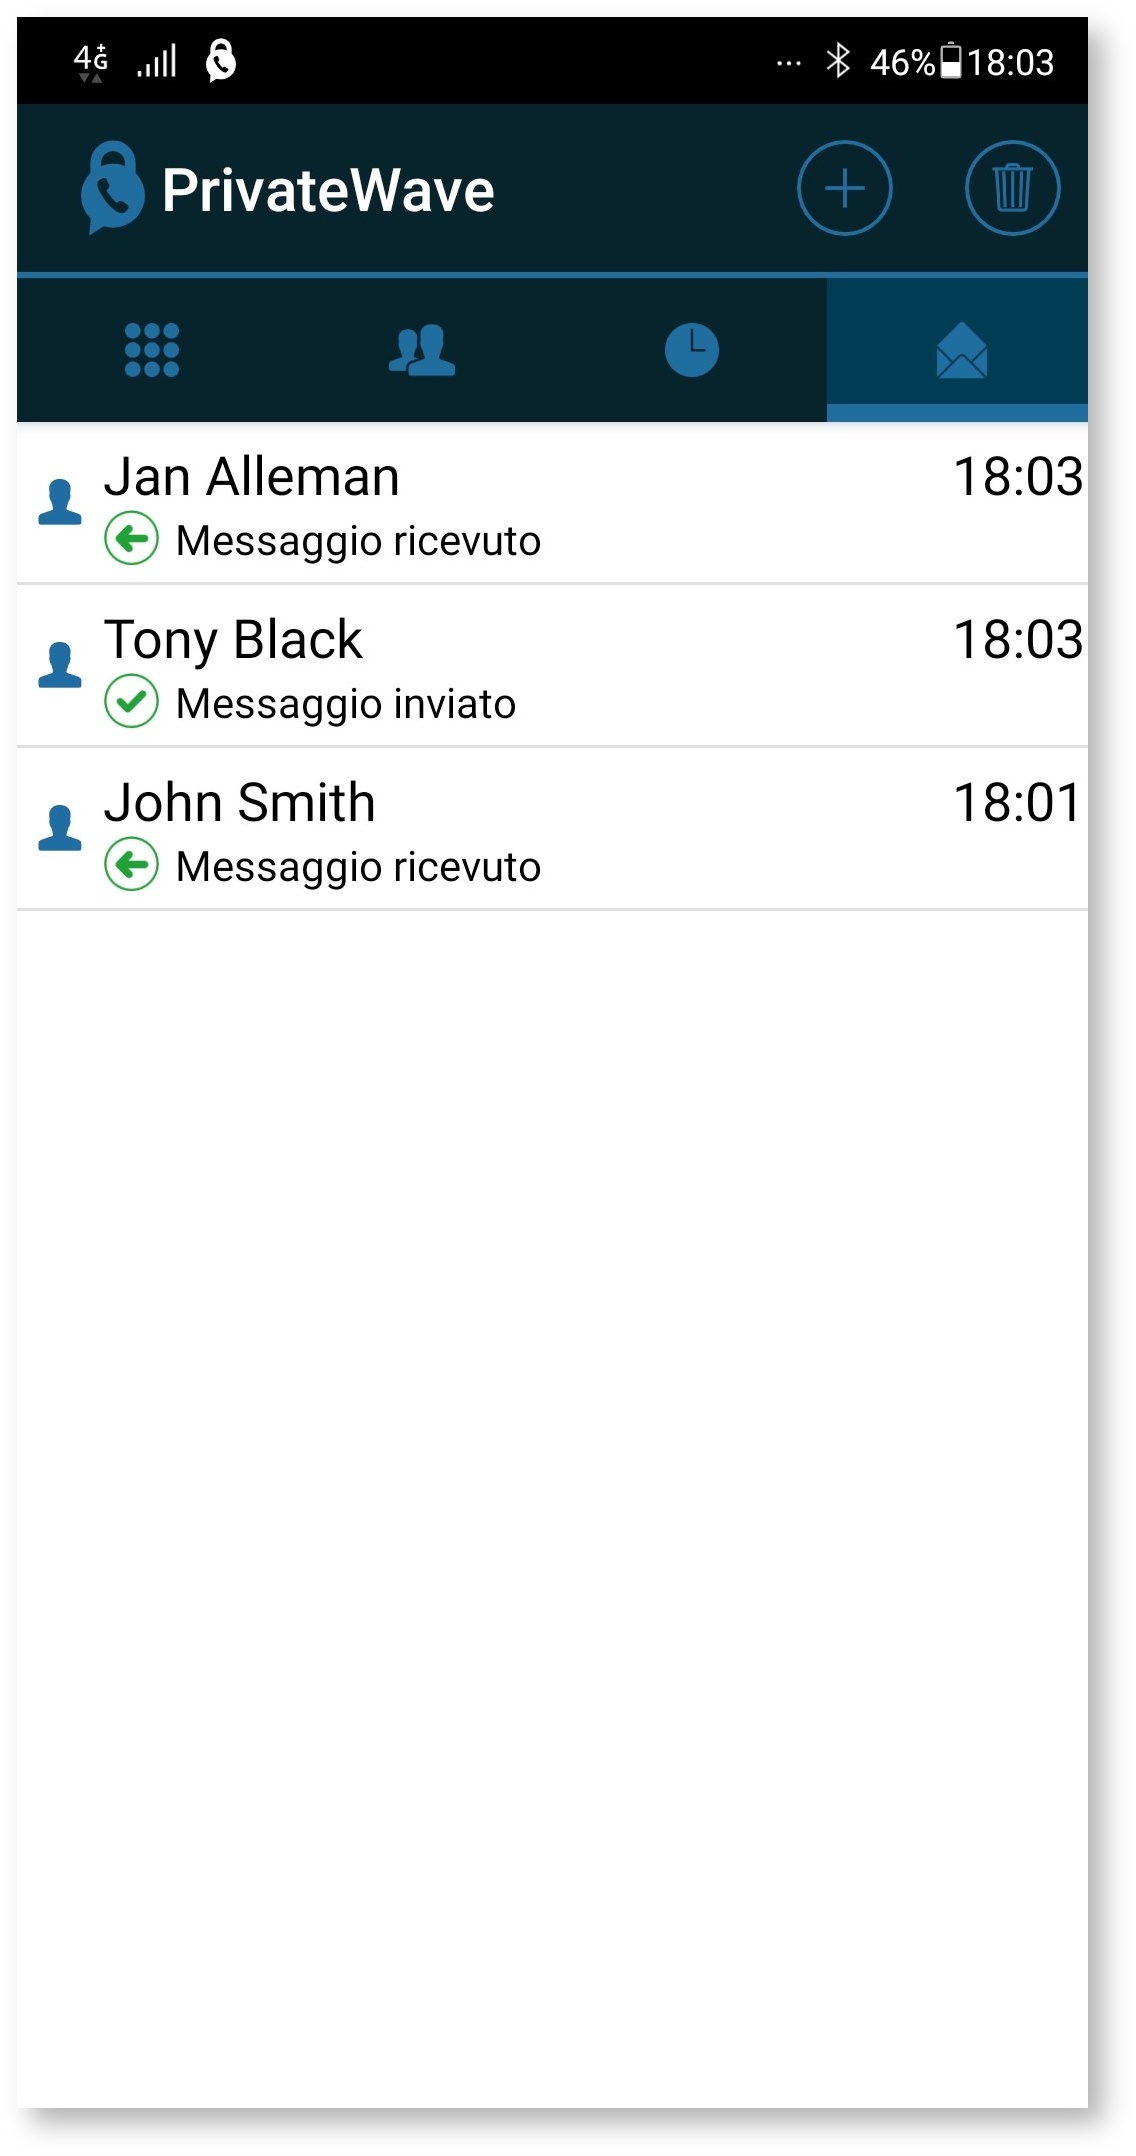
Sending from the "Messages" tab
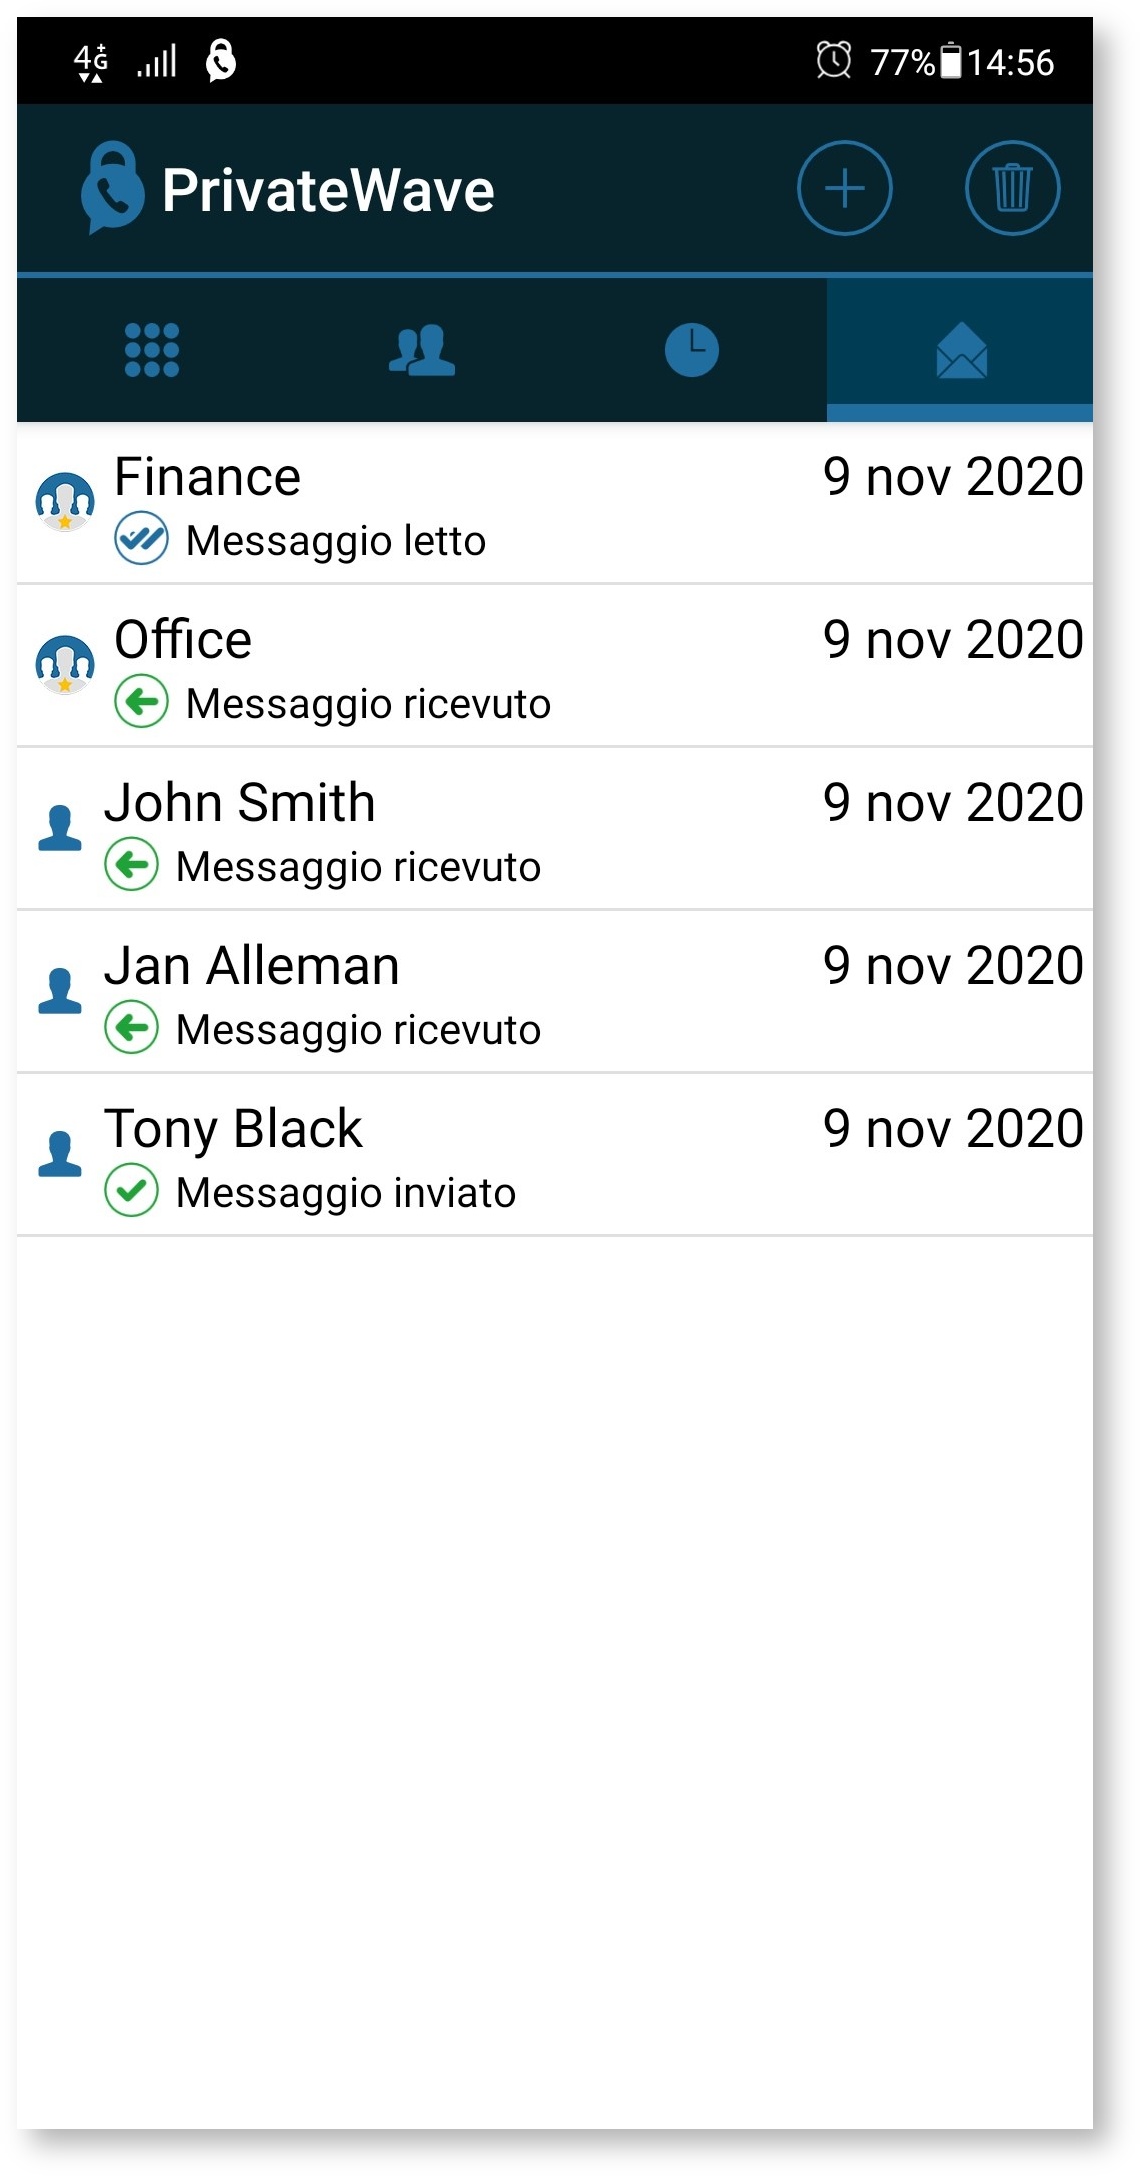
If the conversation already exists in the "Messages" history, select the desired contact to start the message composer:
Otherwise select the "+" button at the top right and then choose the contact from the address book:
Sending from the "Contacts" tab
To send a message to a contact in the contact list, select it and then click on the envelope icon next to the phone number:
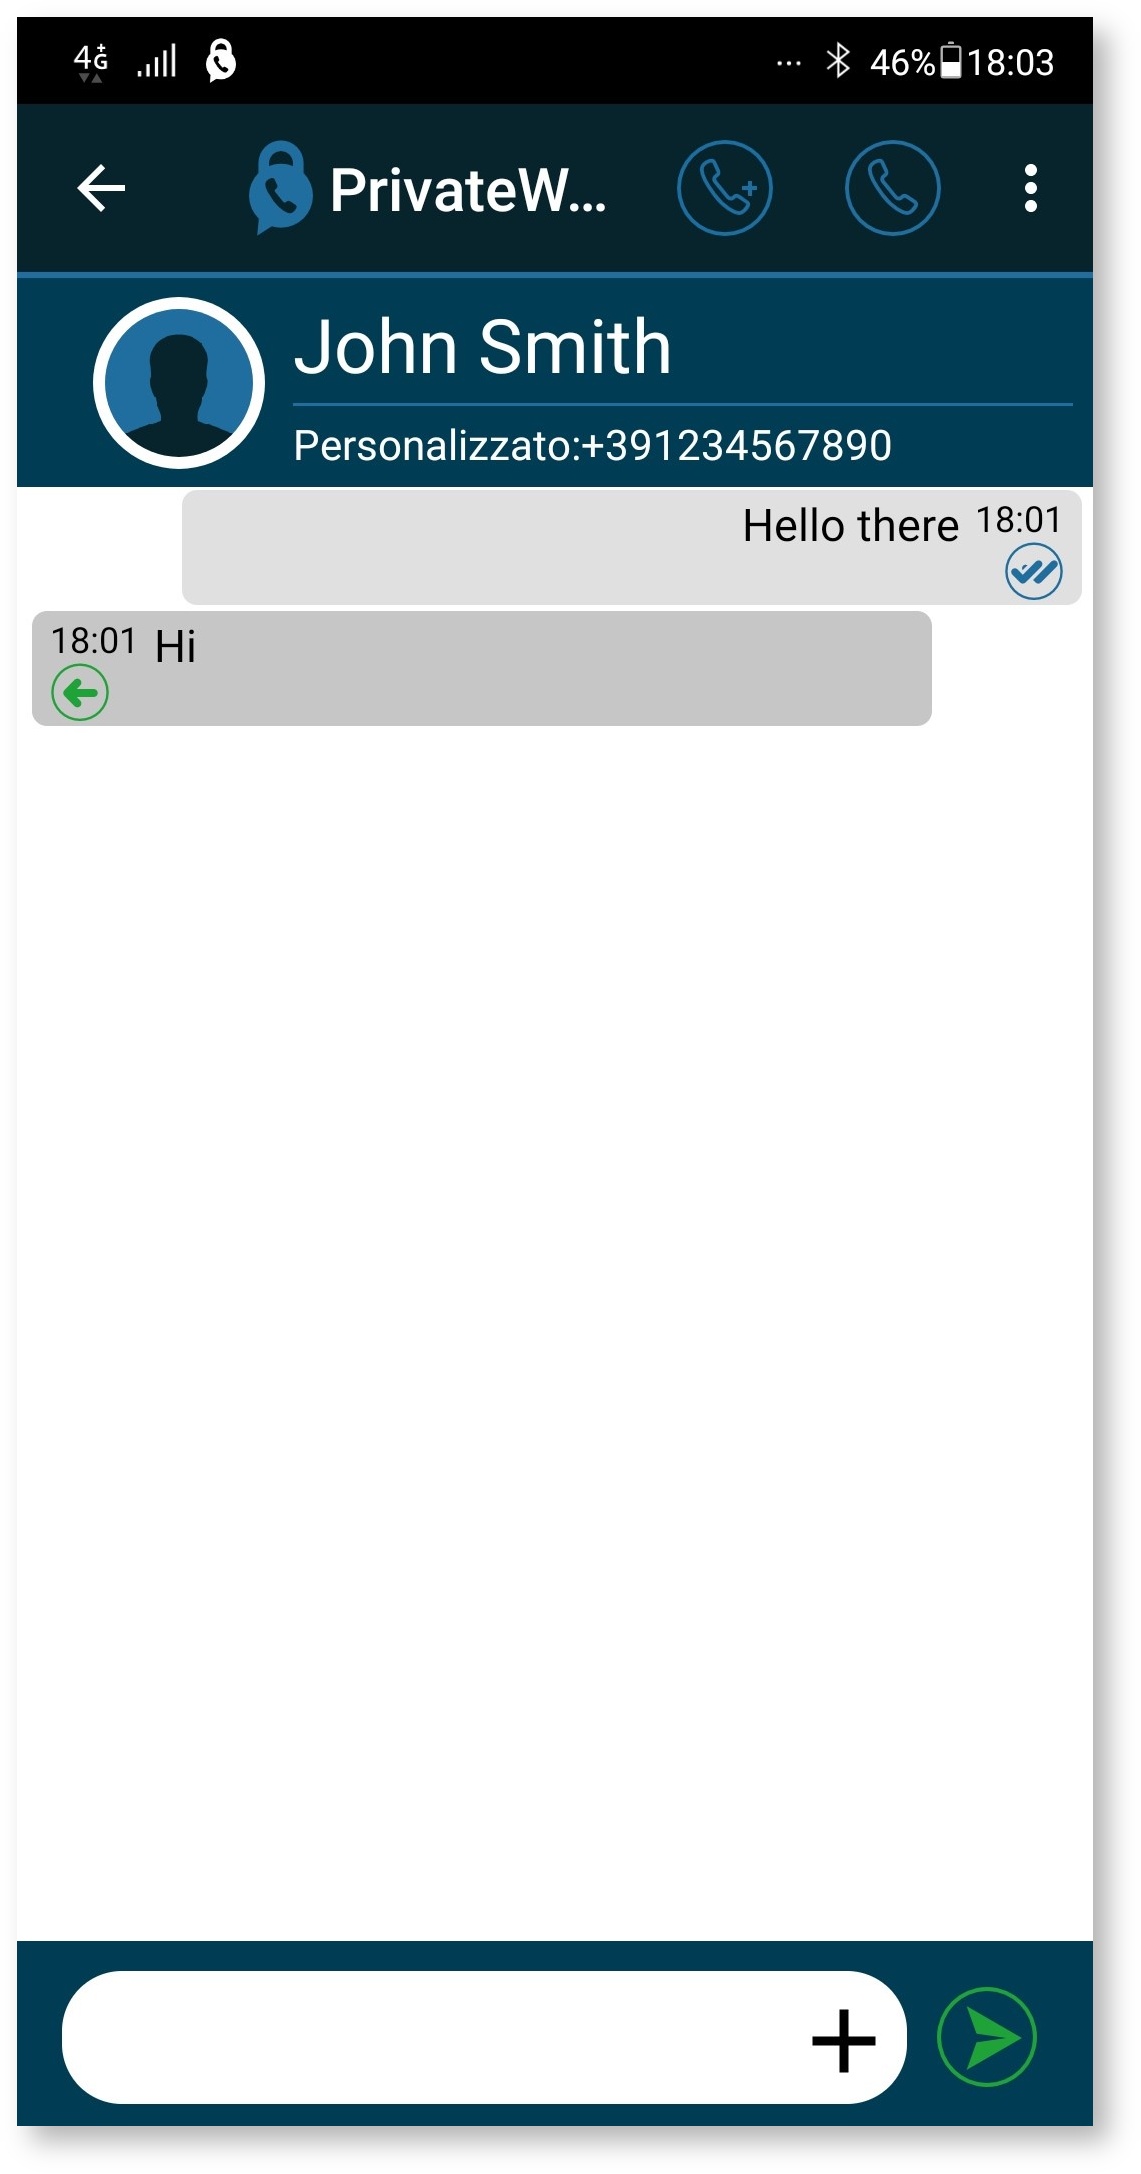
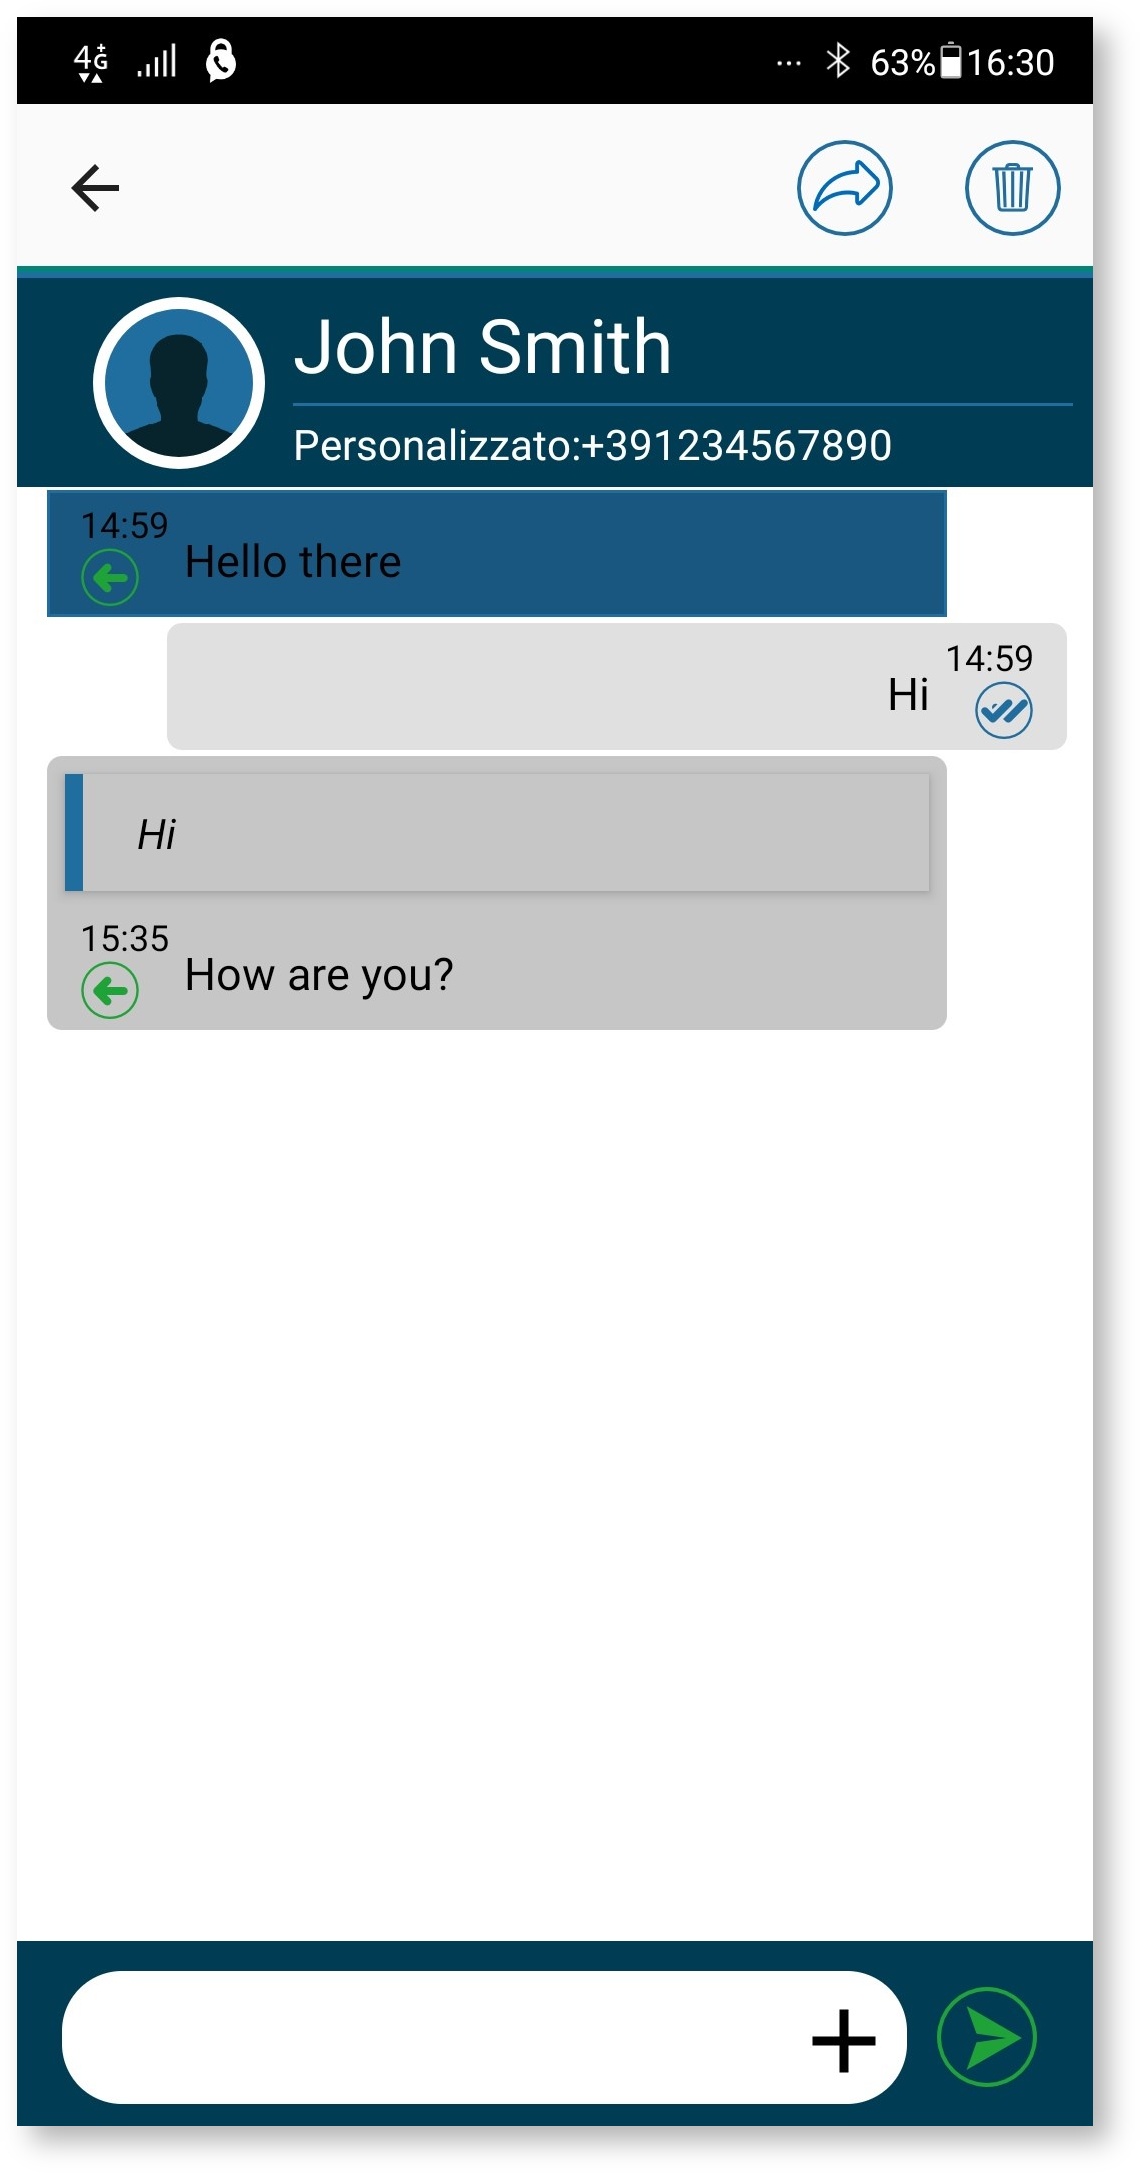
Reply with quotation
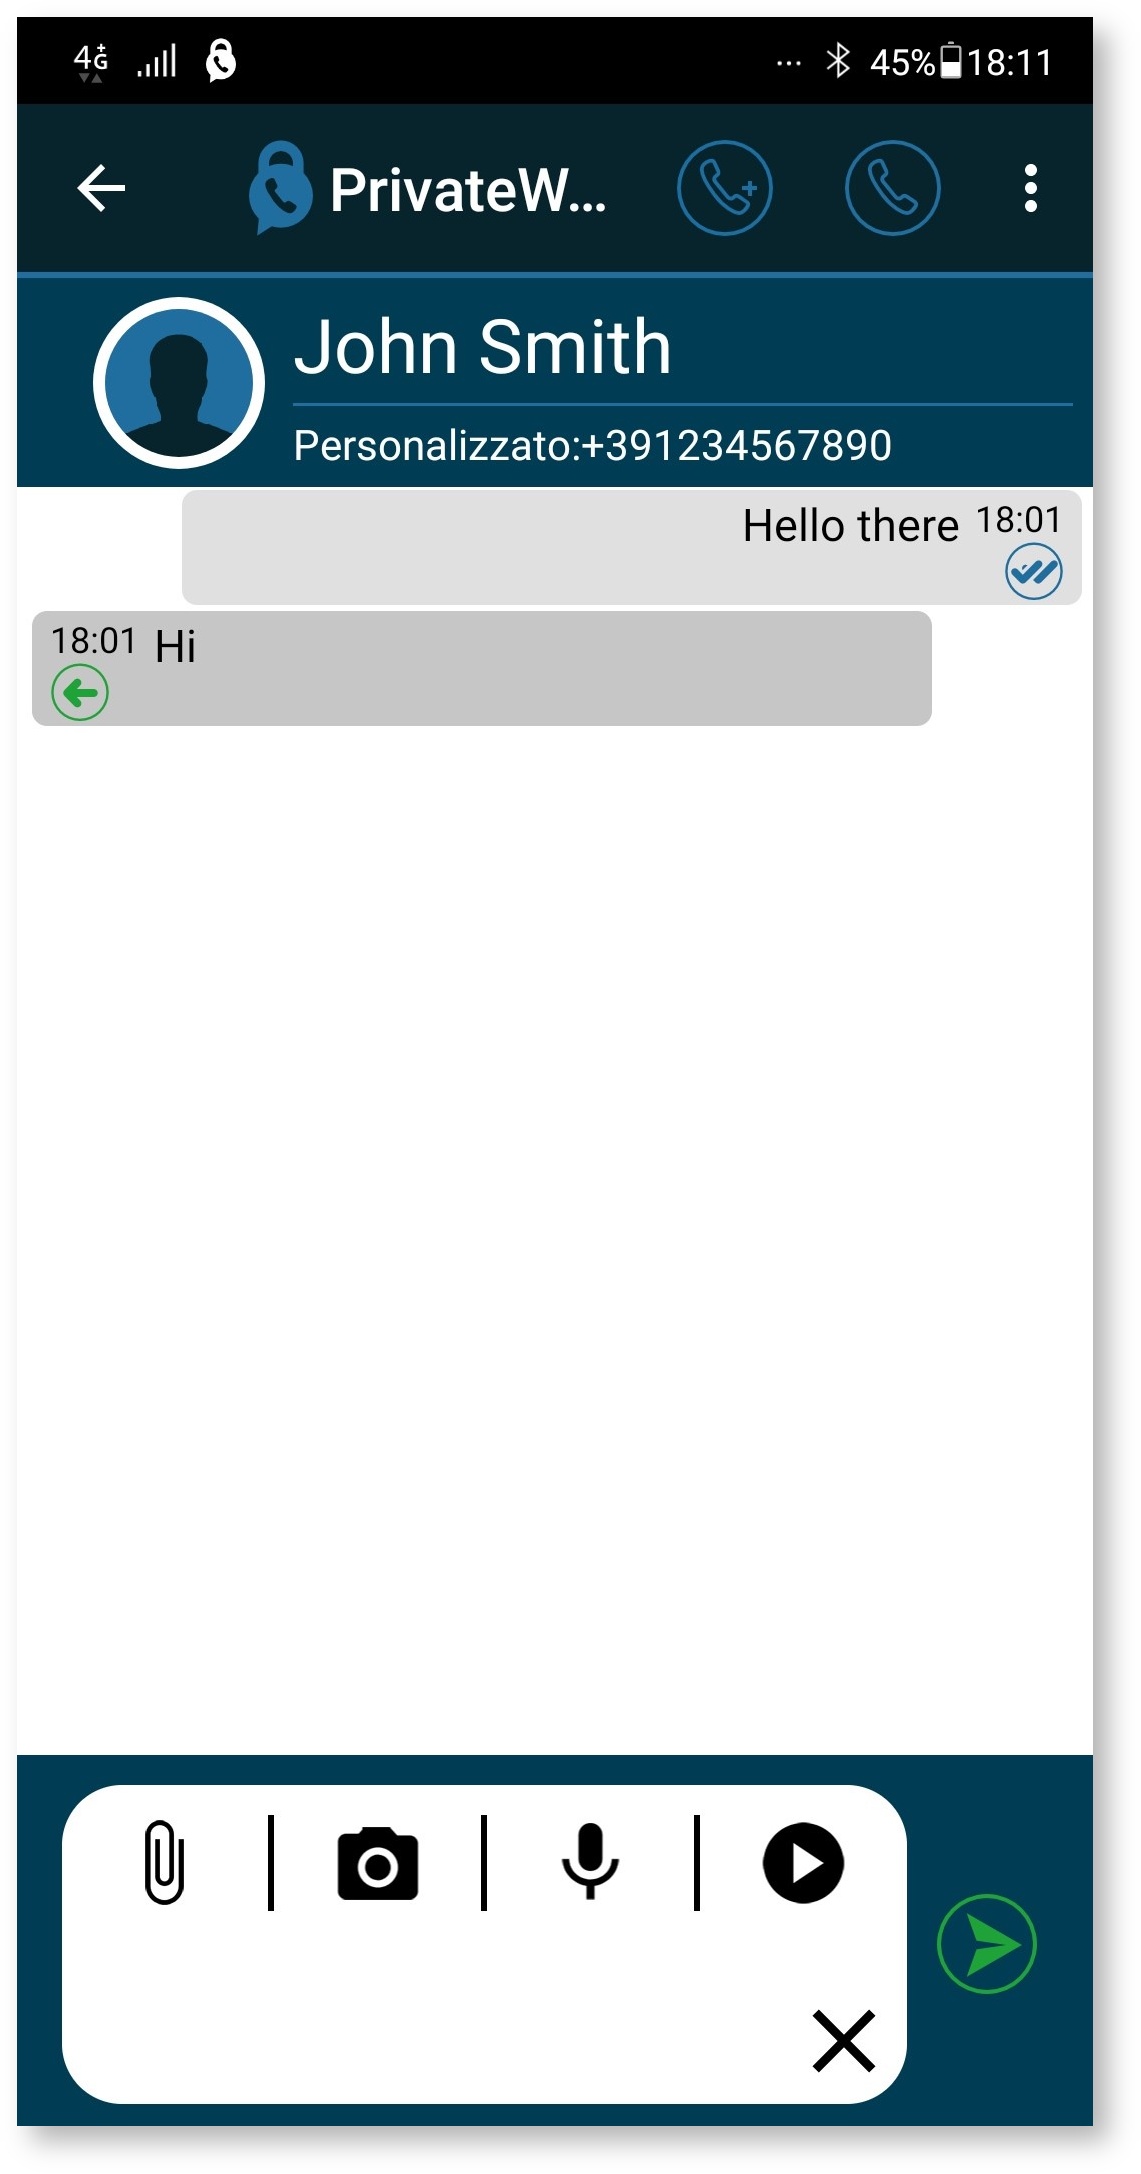
To reply to a message with a quote, swipe to the right of the message:
Forward
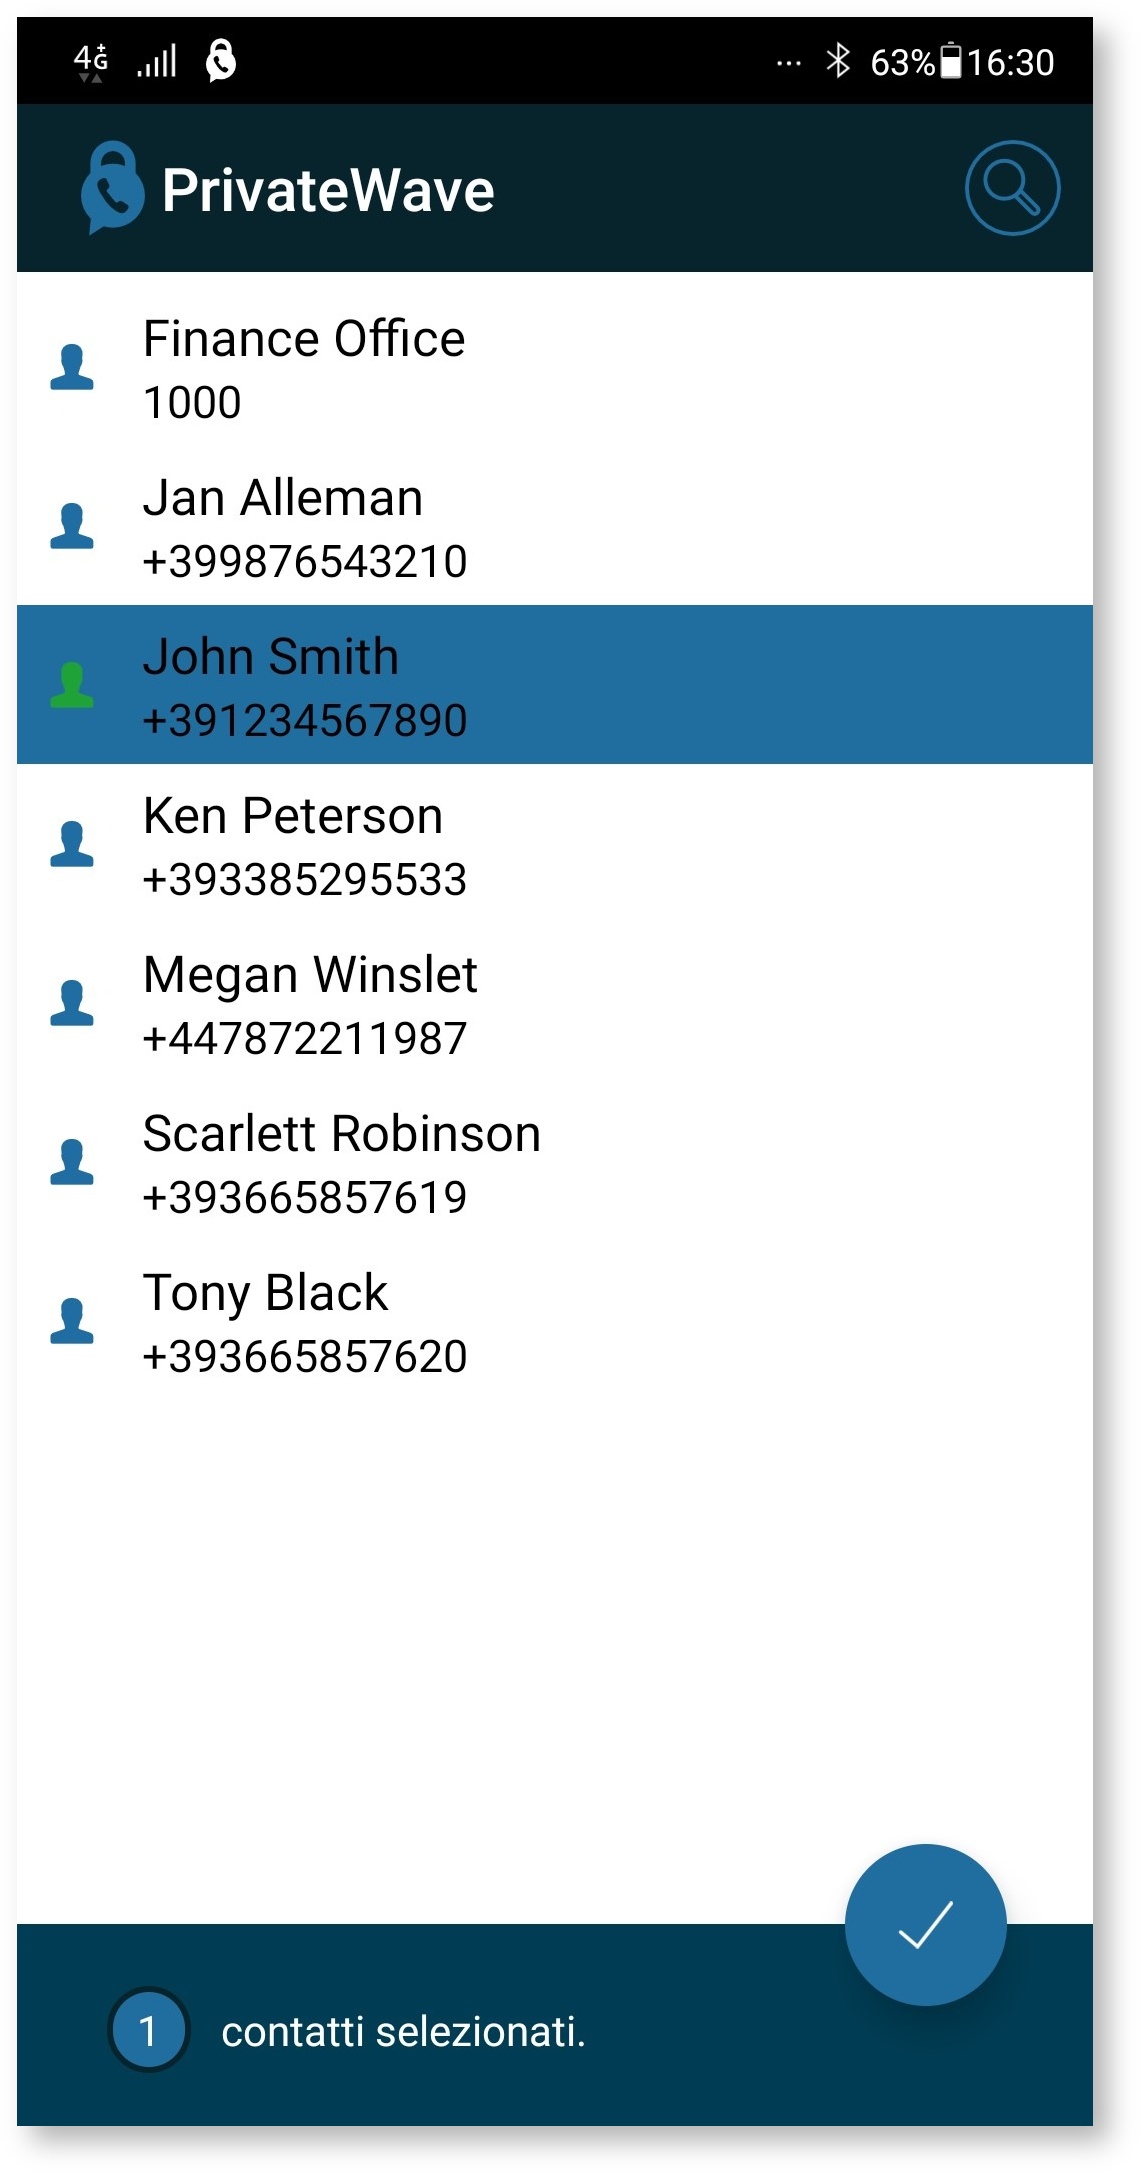
To forward a message that has been sent or received, hold down on the message and press the arrow-shaped button that appears in the top right-hand corner
Then select the recipients from the list and press the confirmation button at the bottom right. To cancel the forwarding press the "Back" button on the device
Sending attachments
To send a file click on the "+" icon in the message composition window. Using the icons that appear you can choose the type of attachment you wish to send:
Once you have selected the file to send, click on the send icon at the bottom left of the attachment preview window:

After sending the file you can preview it by clicking on the "lens" icon next to the file name.
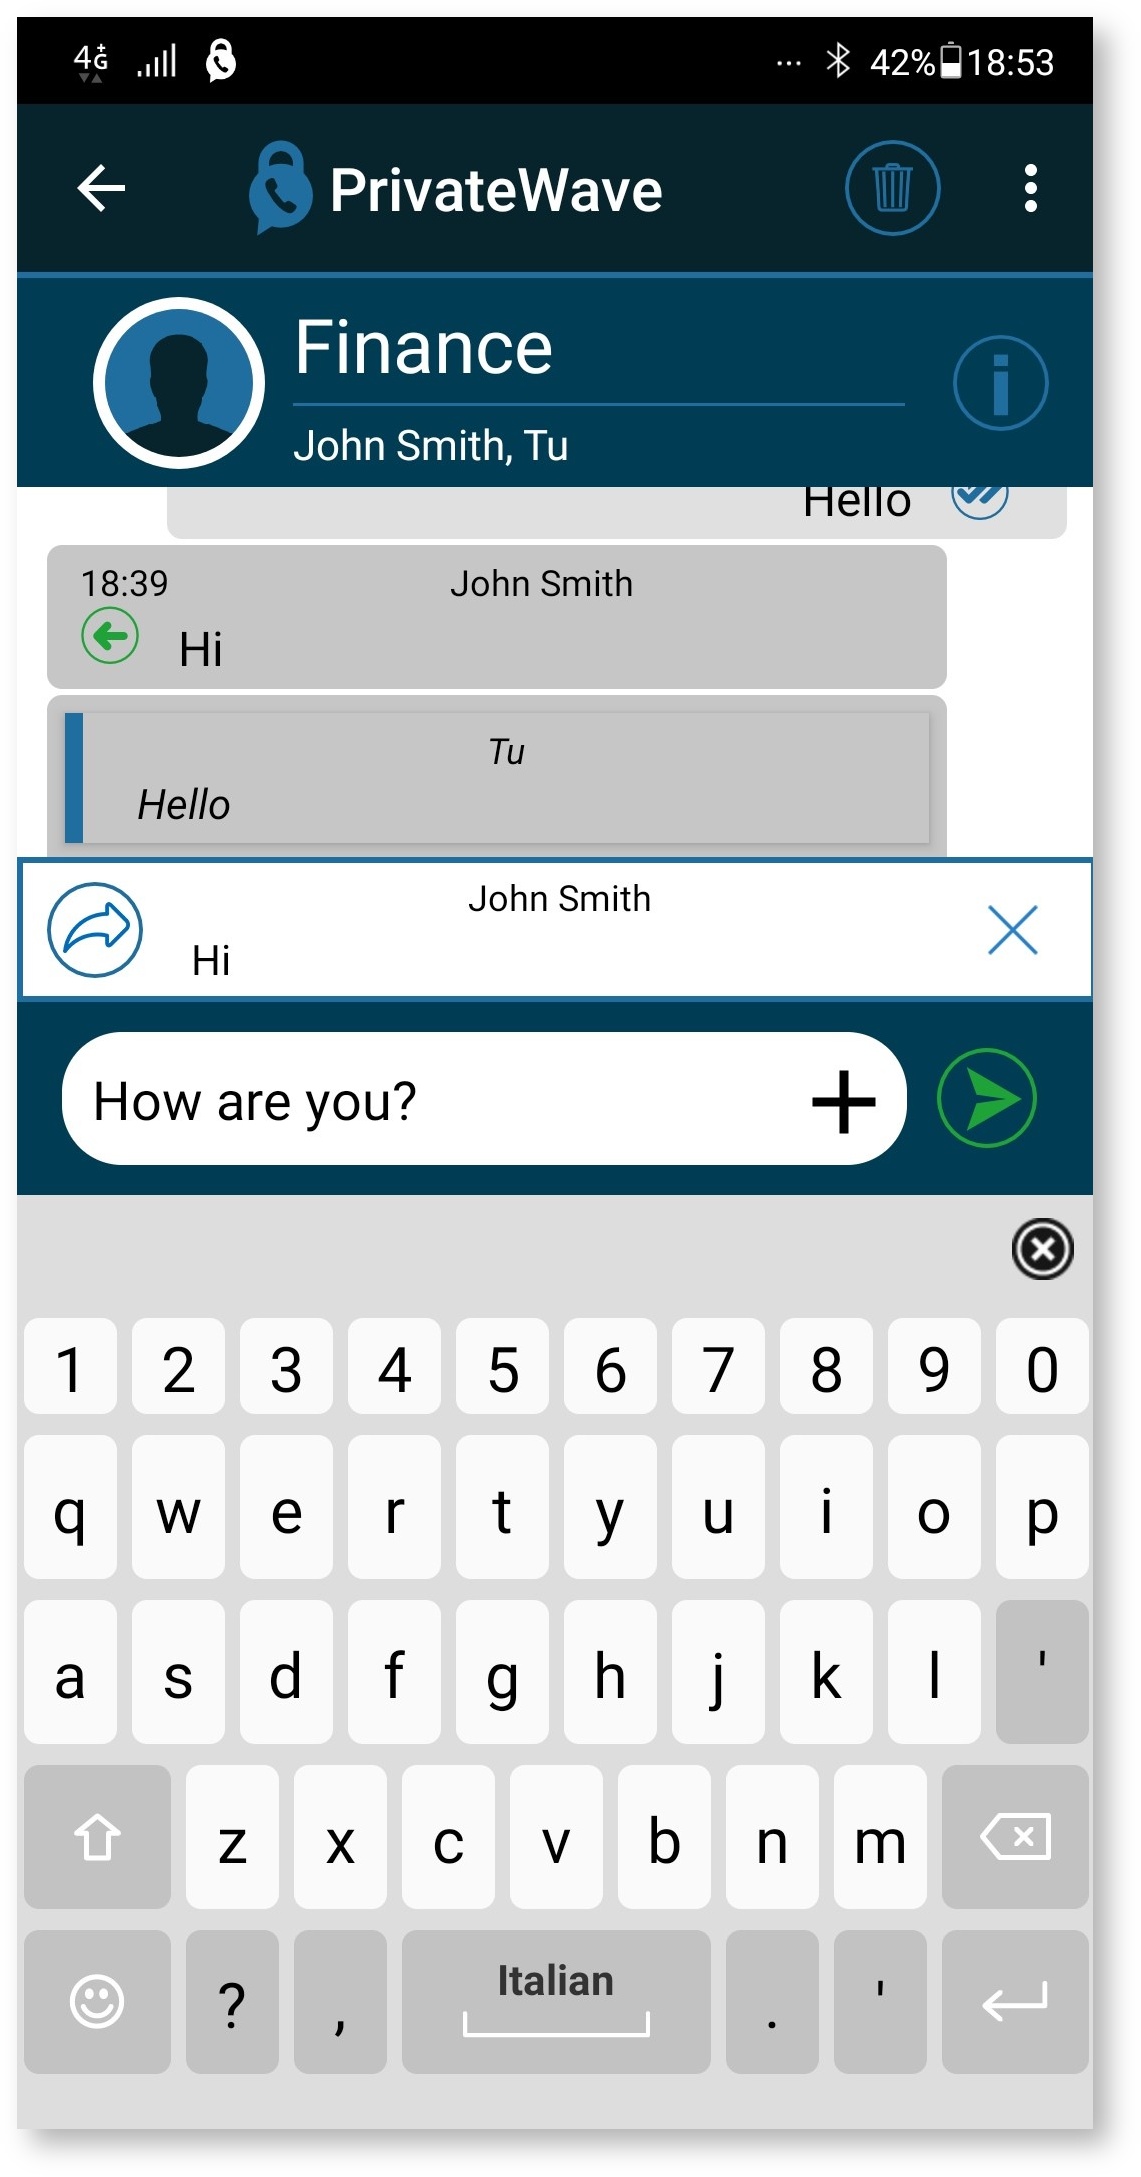
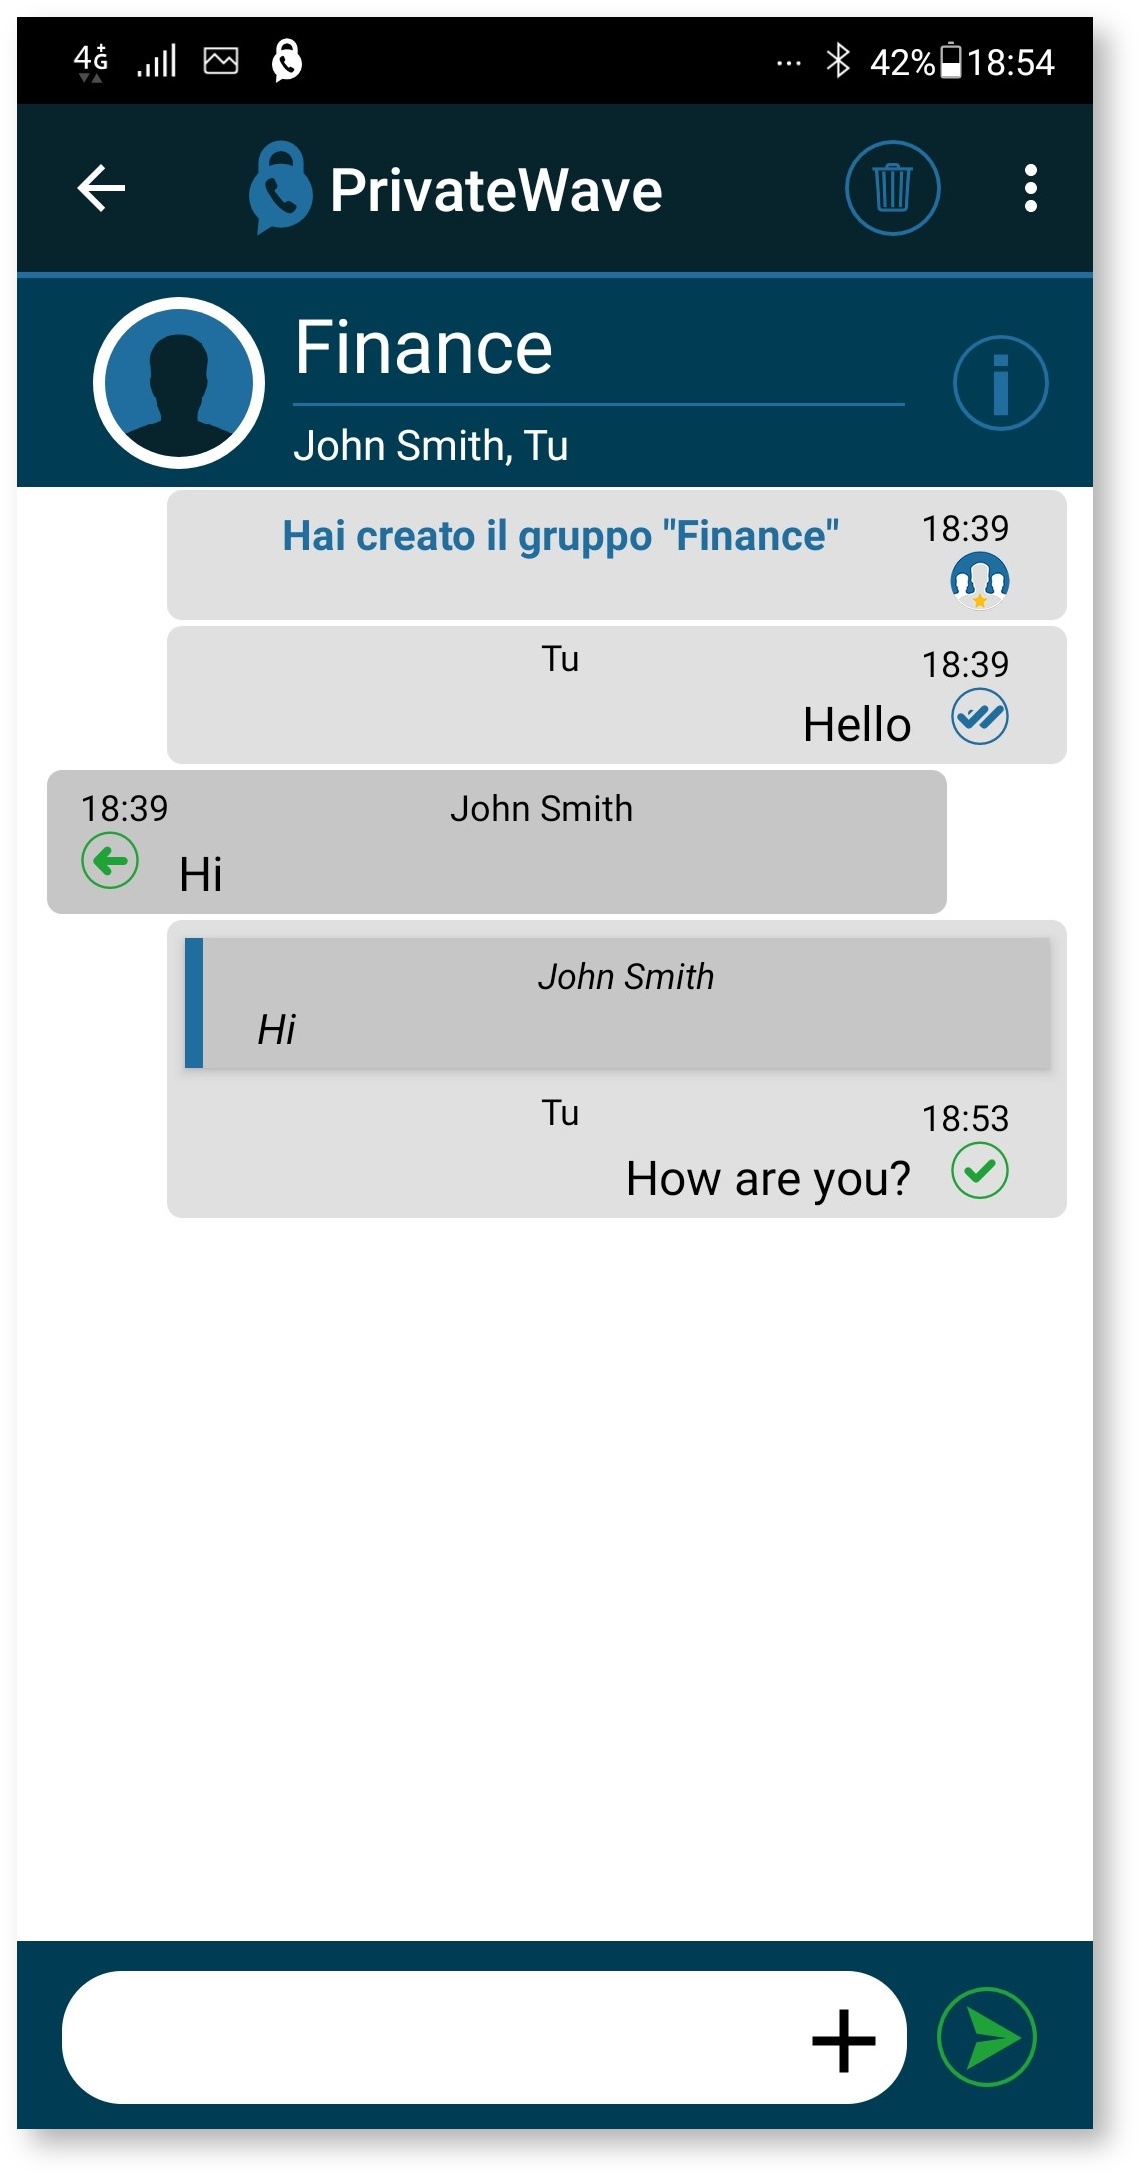
Group Chat
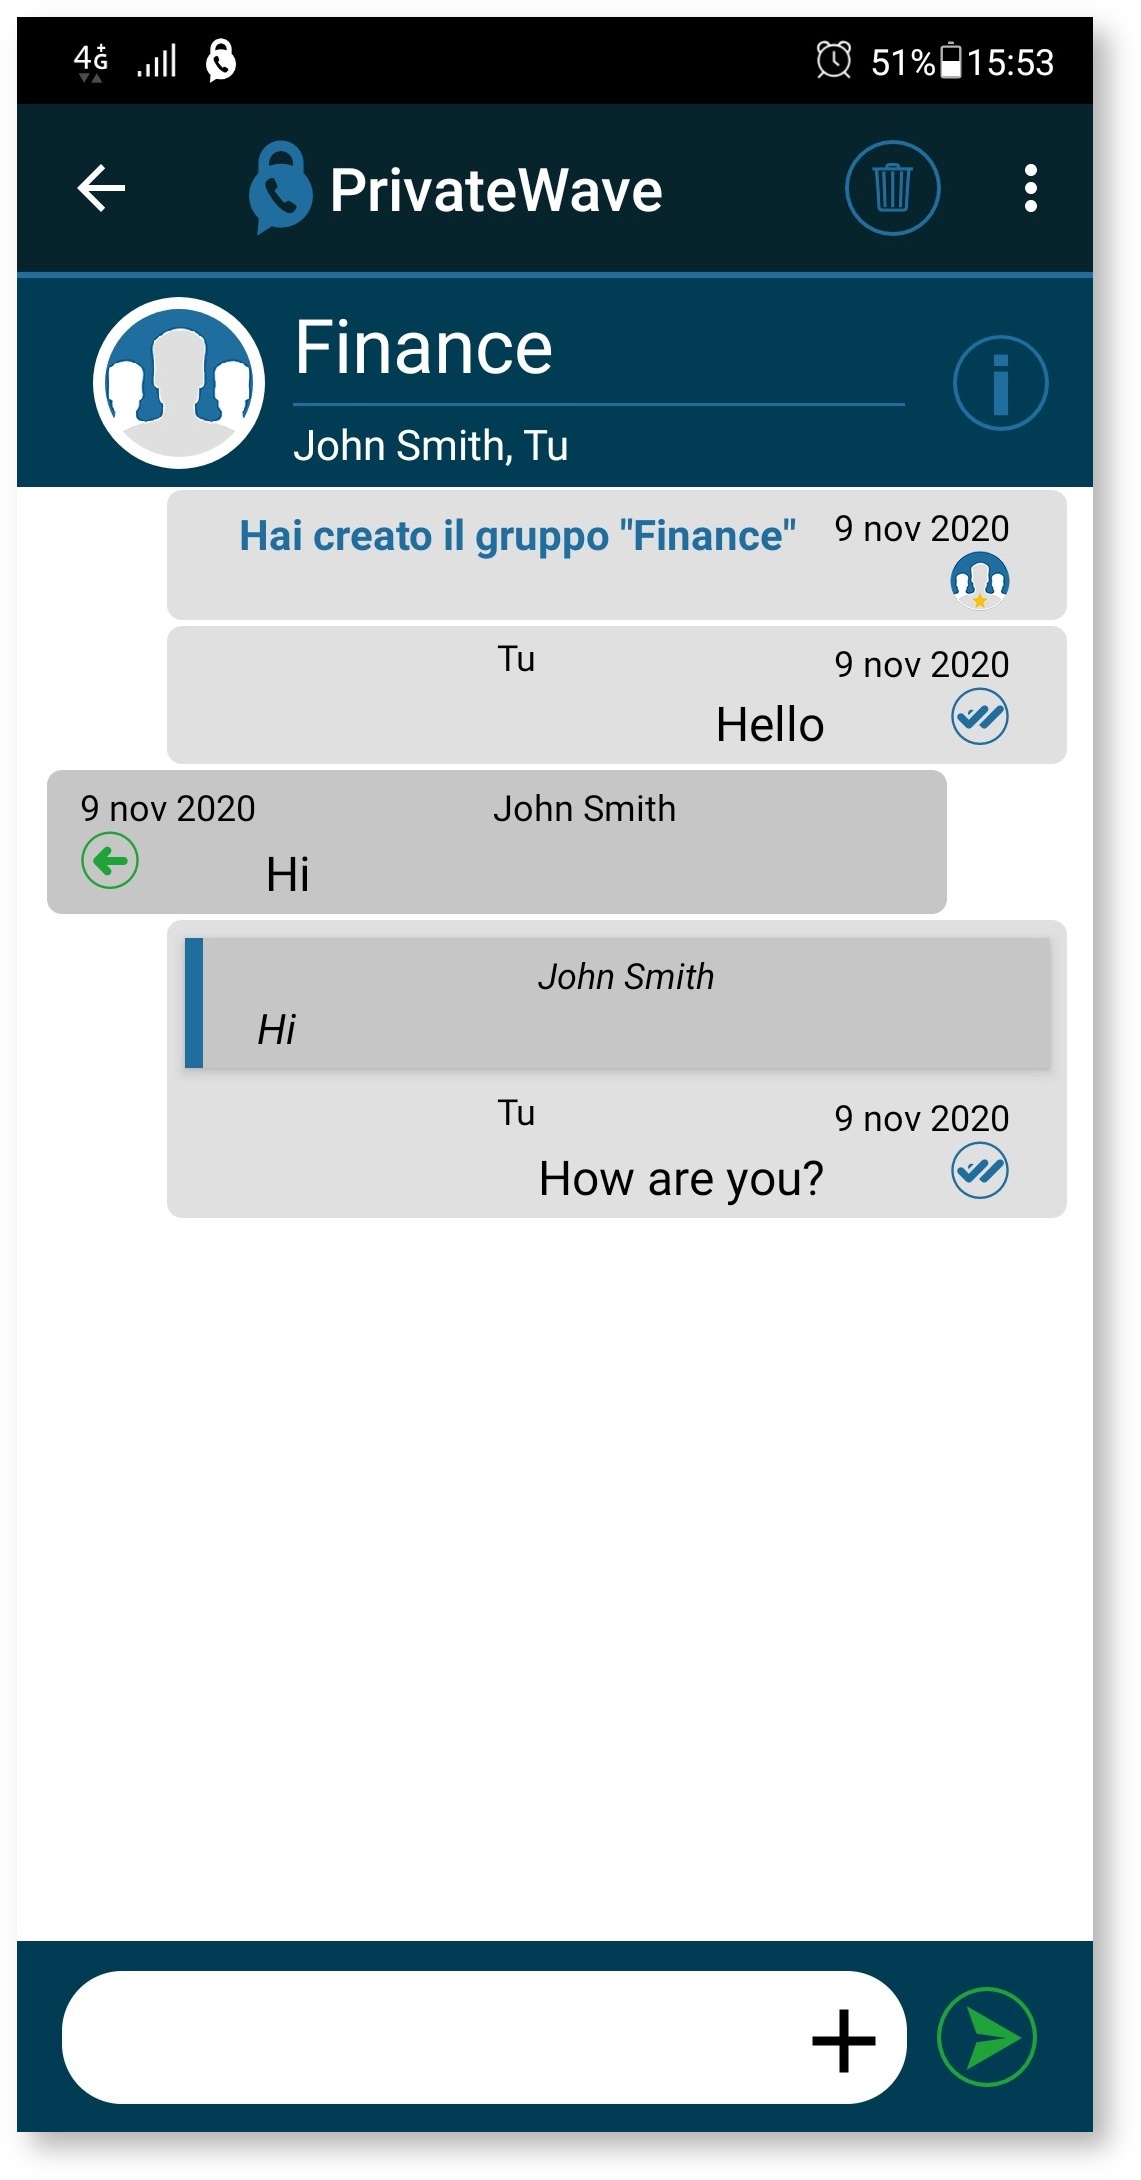
If the group chat already exists in the "Messages" history, select the corresponding group to start the message composer:
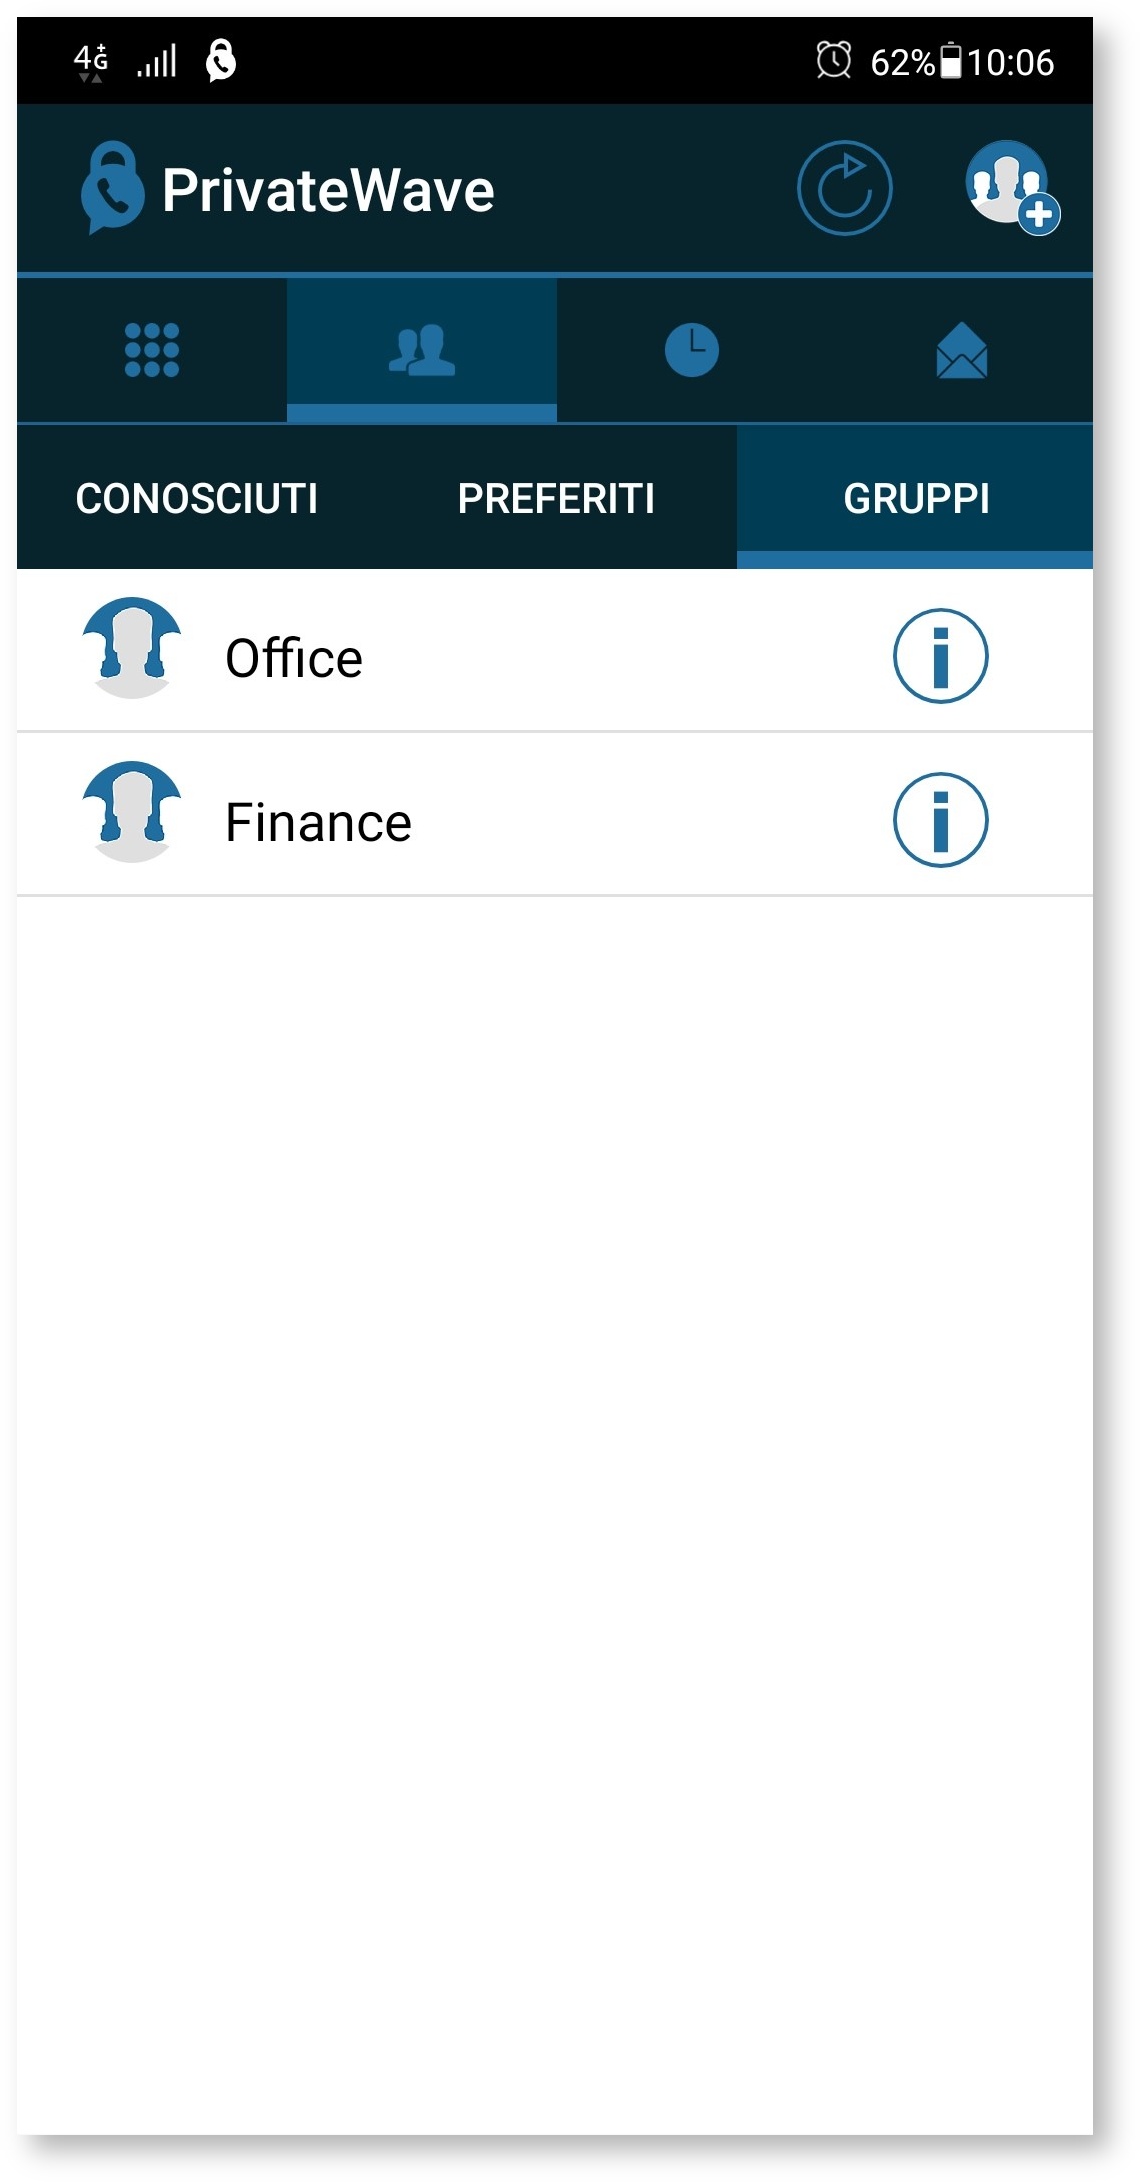
Otherwise it is possible to access the groups in the Contacts tab under "Groups":
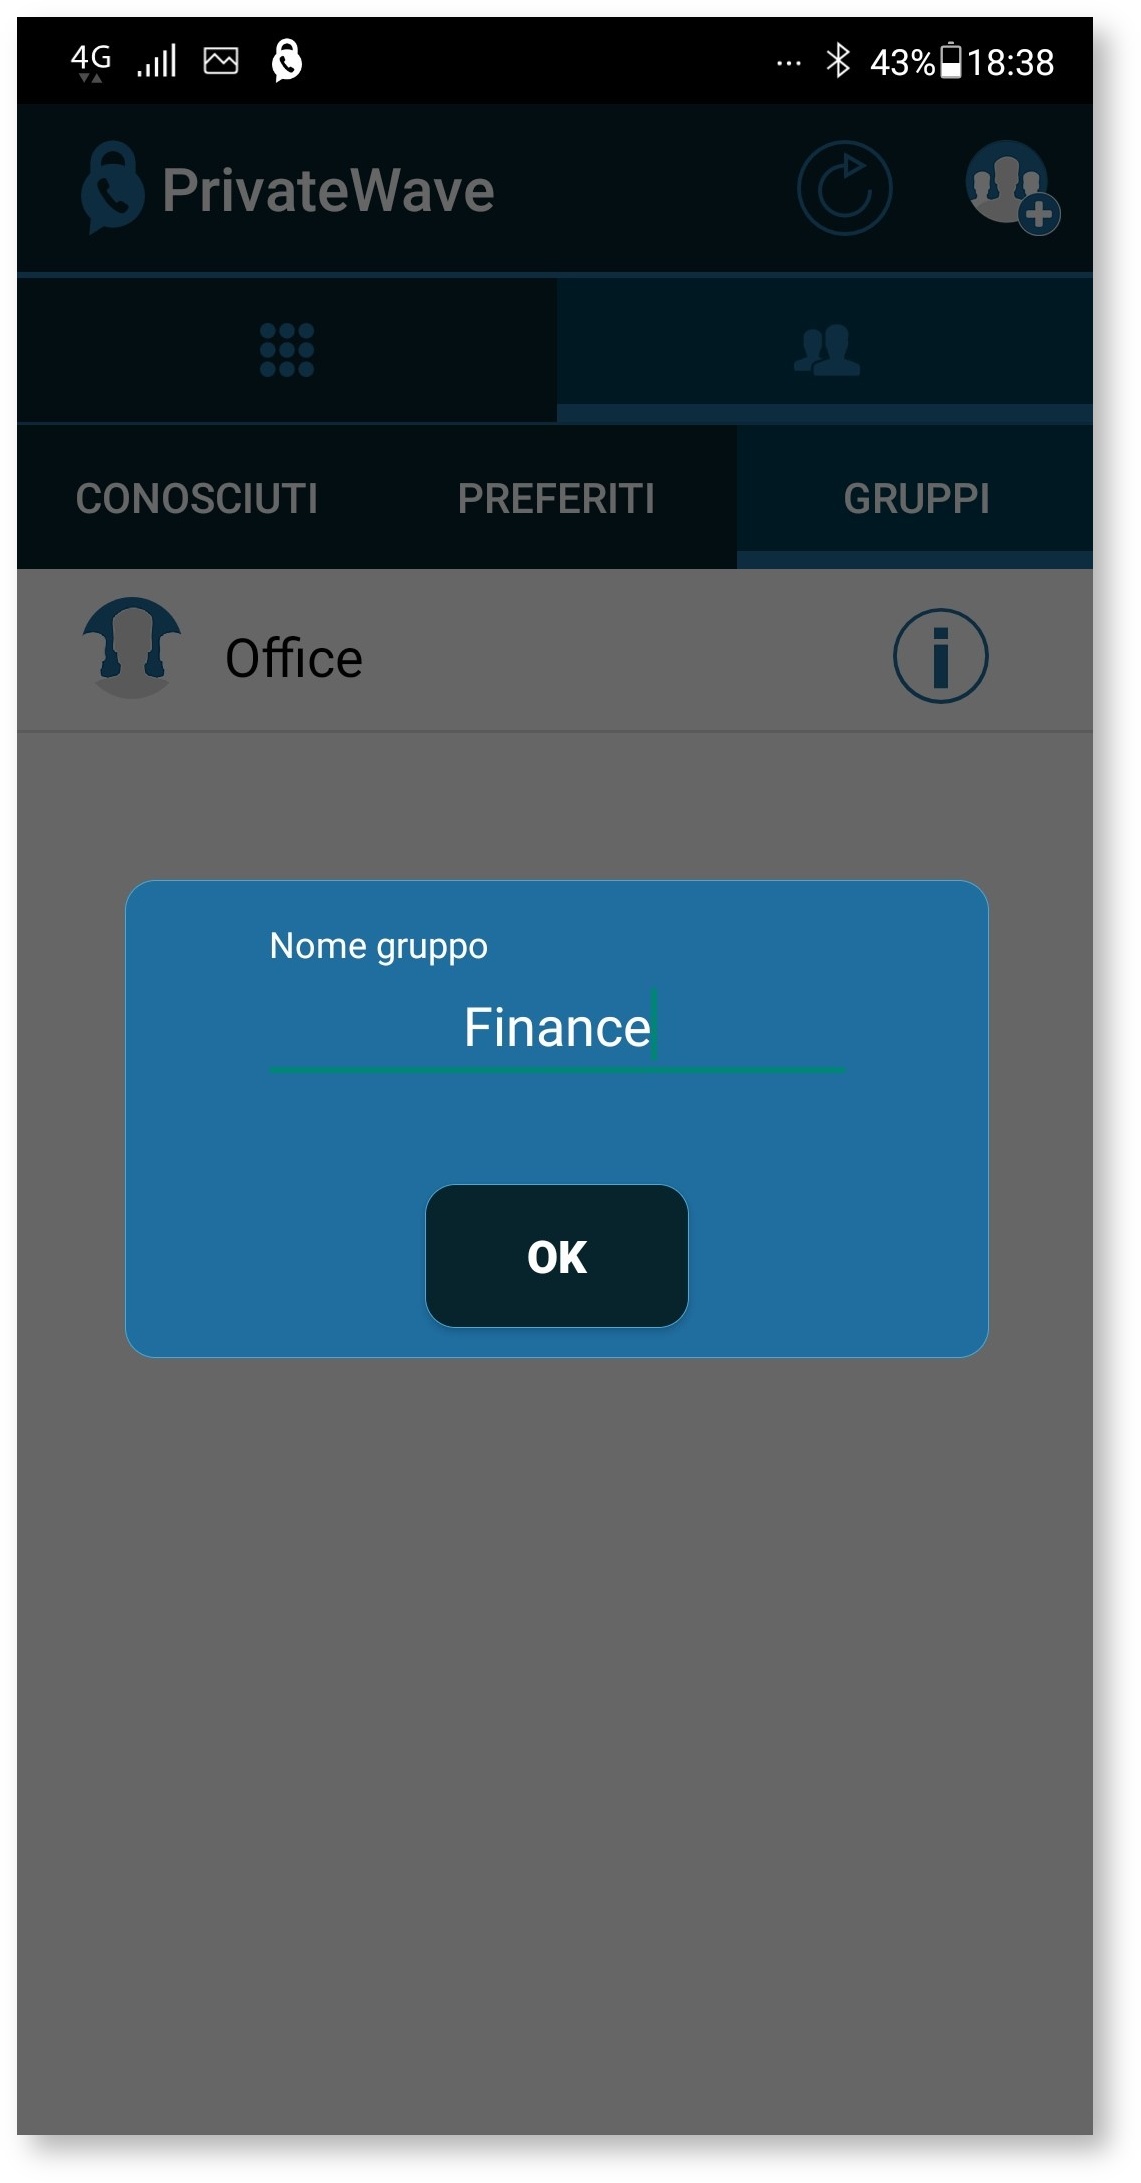
To create a new group press the "+" button at the top right of the message tab and then the "Groups" tab. The icon for creating a new group is located in the top right corner. Enter the name of the group:
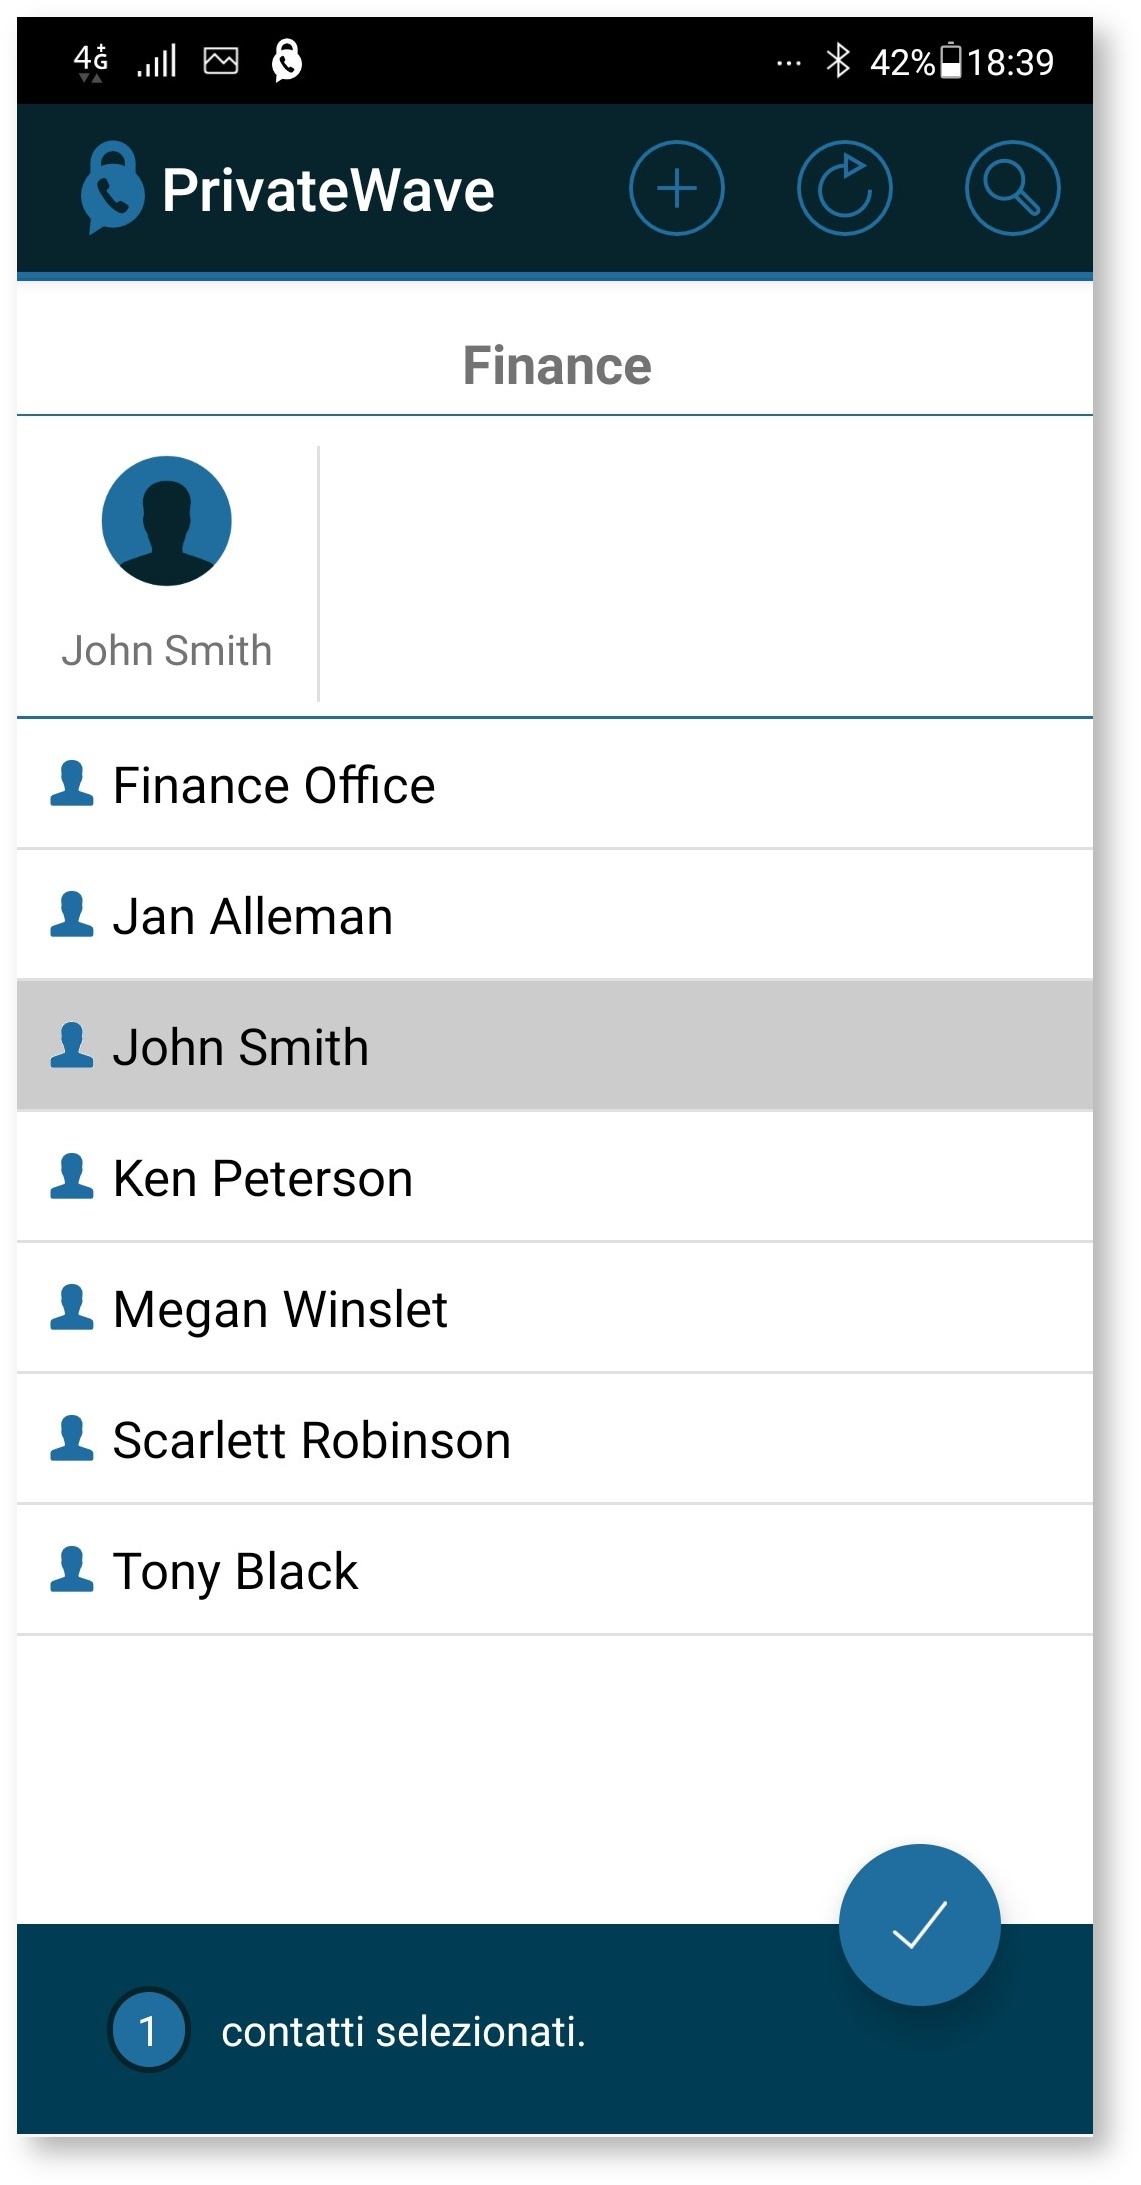
and then choose the contacts to add:
You can view information about the group by pressing the "i" icon in the upper right corner of the chat itself:
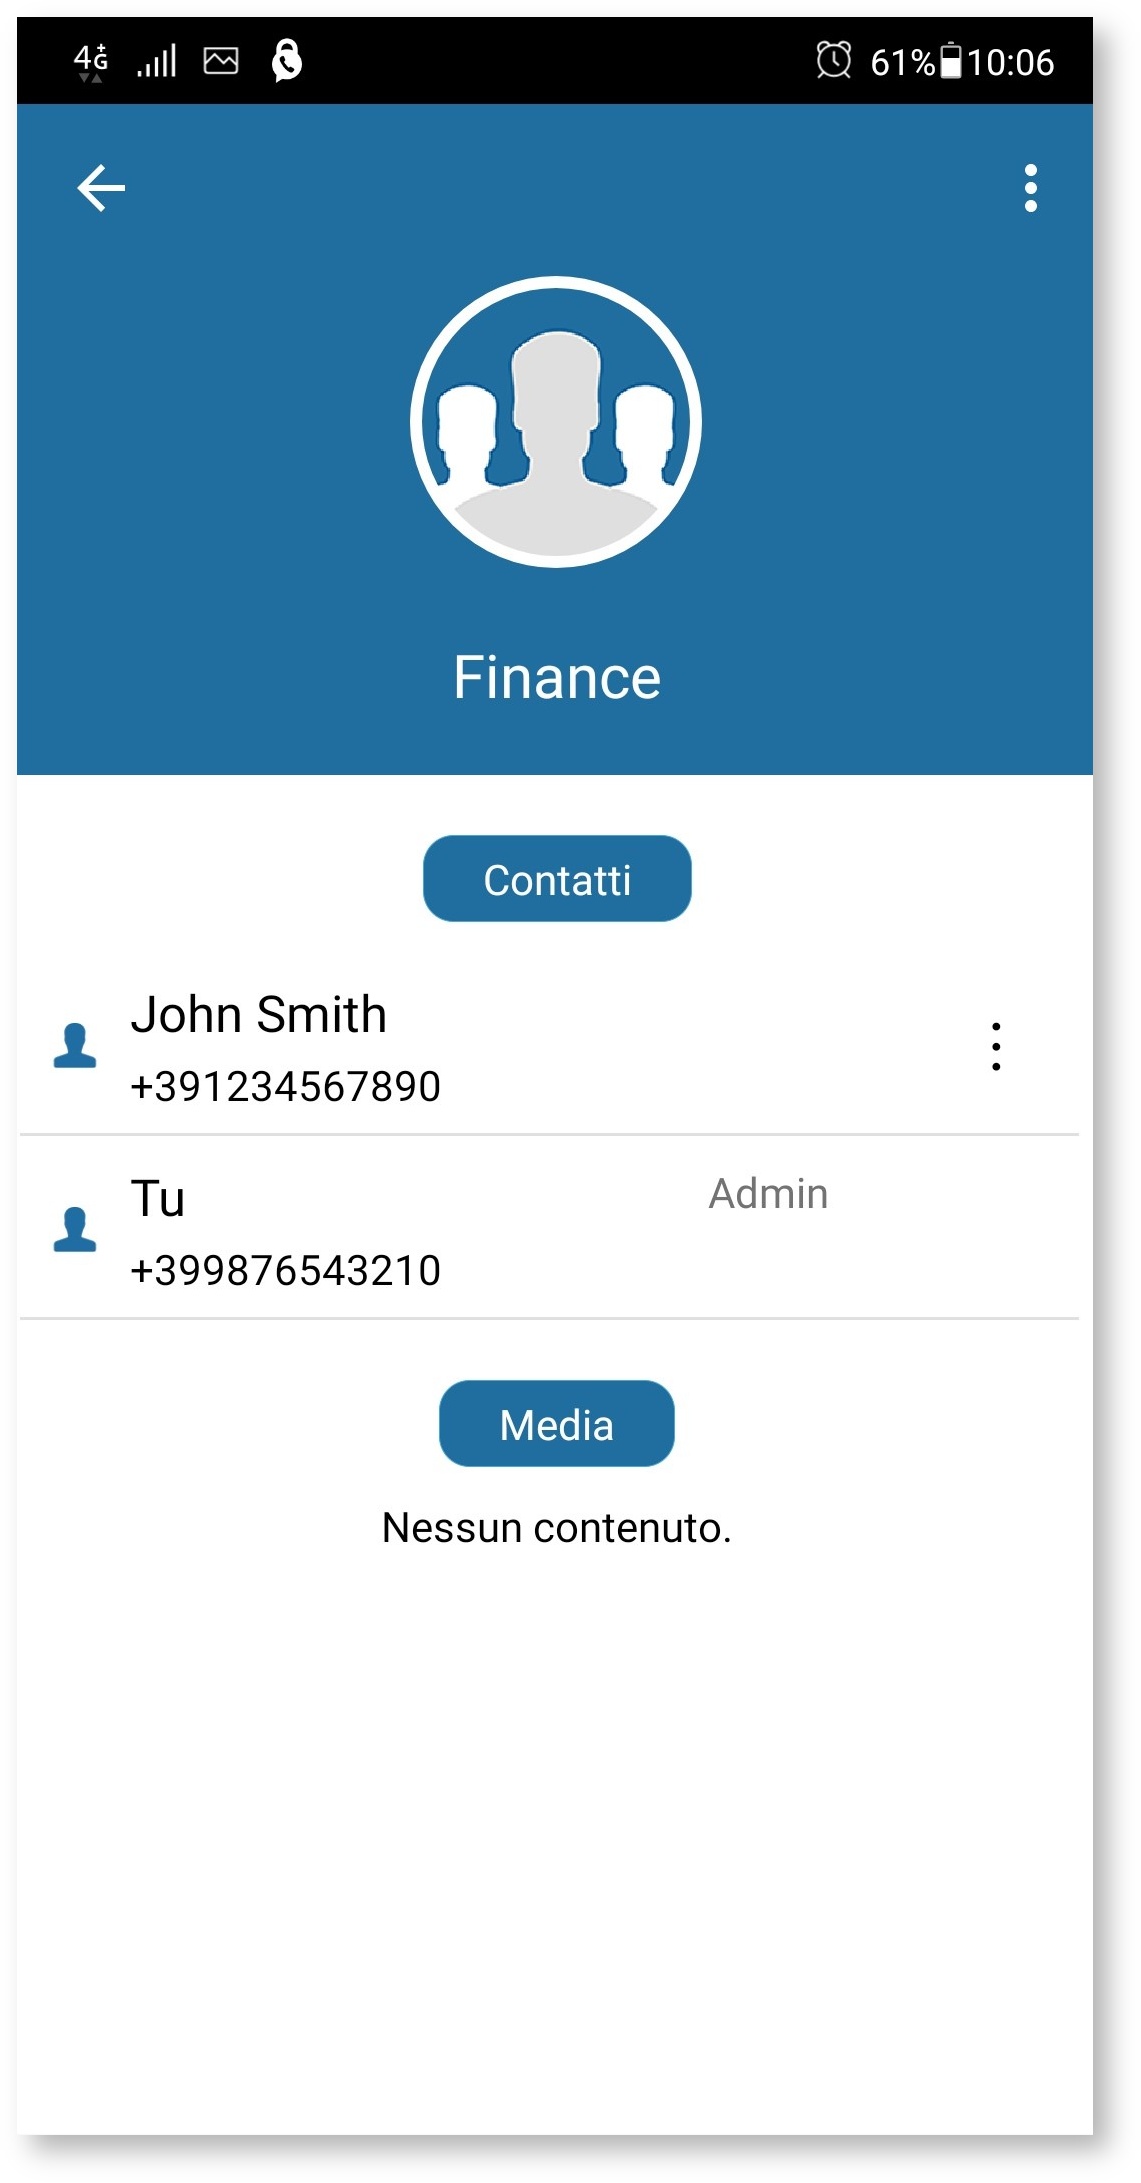
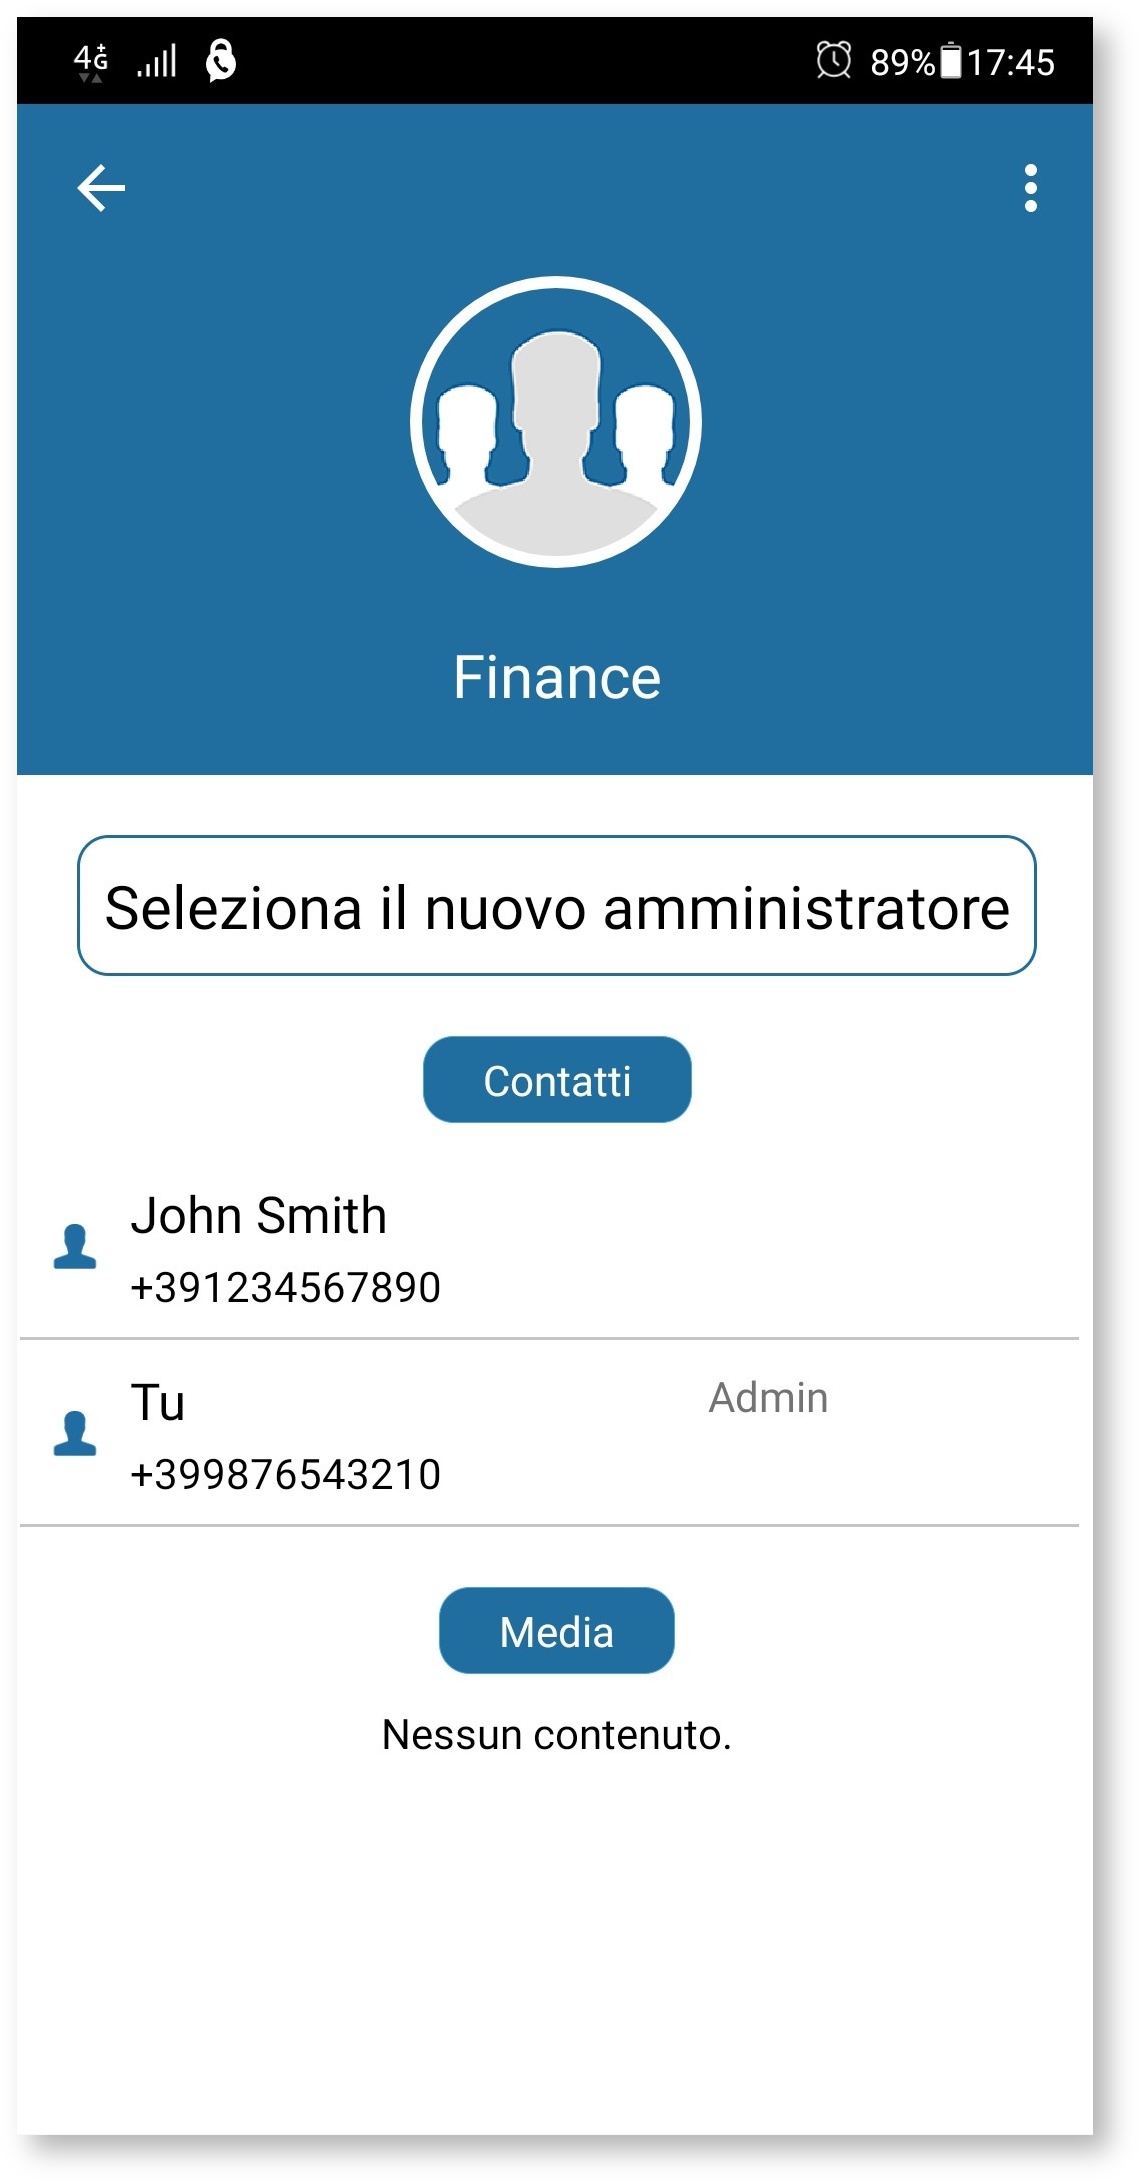
The group administrator can edit the group itself by clicking on the three vertical dots at the top right of the "Group Info" screen
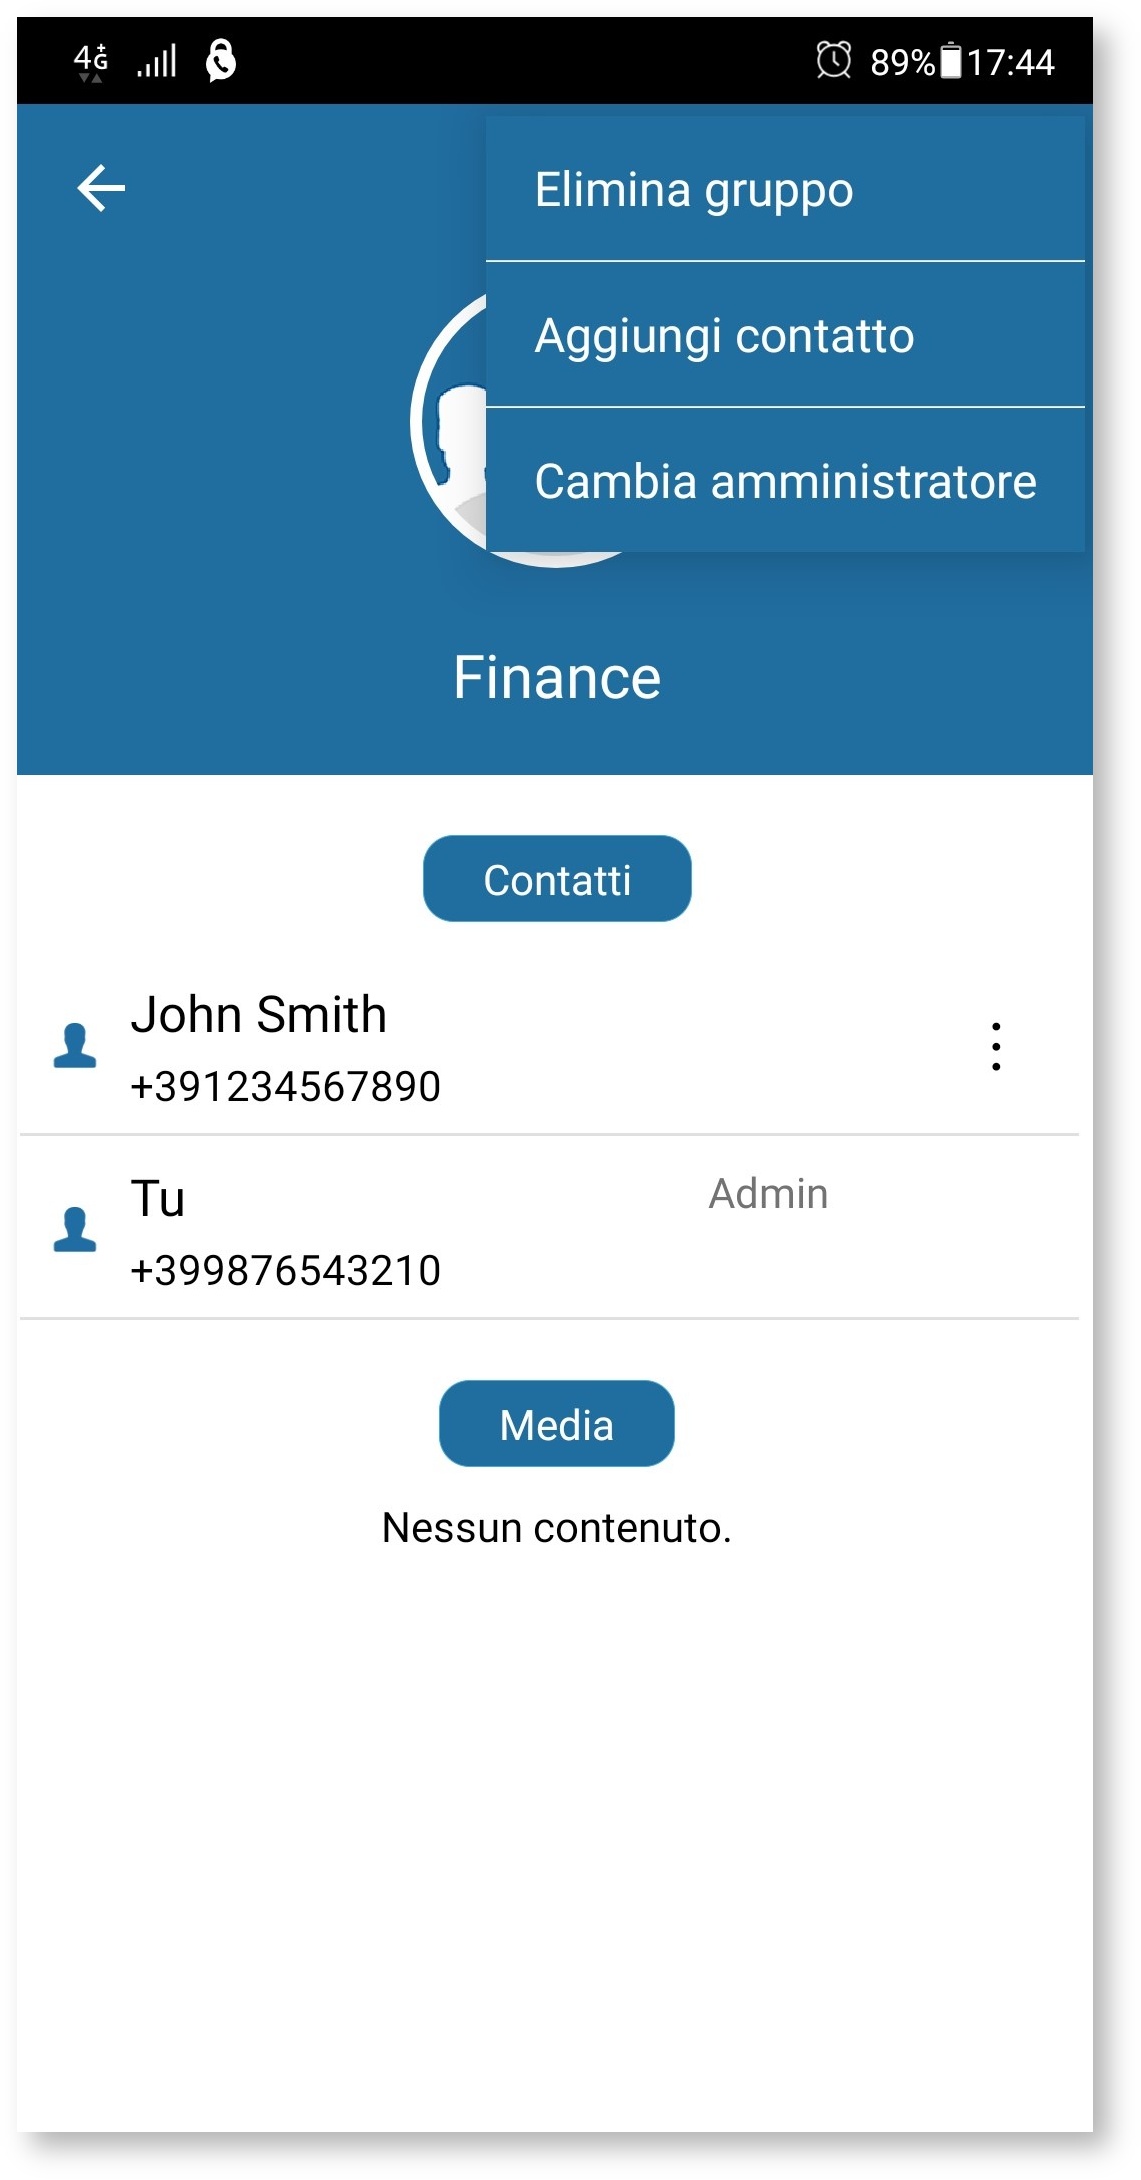
You can add members to the group, delete the group or change its administrator
Secure Messages status icons
An icon is displayed for each Secure Message showing its status:
| Icon | State |
|---|---|
| Sending the message |
| Message received by the server |
| Message delivered |
| Message read |
| Error while sending the message |
In the case of Group Chat a message is delivered or read only when all group members have received or read the message. You can access the detail status of each single message sent by swiping left on the message itself.