2.6.1 How does the administrative access work?
To manage a PrivateServer installation you have to use primarily the web interface. The web interface authenticates the users manages authorizations so you can profile each user for a single management goal. Before starting we should clarify some basic concepts. The management console access is based on three pillars:
- Users
- Roles
- Request Maps
2.6.1.1 What is a User?
A User is holding a single account that can be logged in with a pair of username and password. After logging in the user can perform a management task based on his/hers roles.
2.6.1.2 What is a Role?
A Role defines the actions to be authorized on. Users can be granted one or more roles, depending on their duties in managing PrivateServer.
Two kinds of roles are defined:
- ROLE_XXX: defines a coarse-grained role, granting authorizations to sets of features
- ROLE__RIGHT_YYY: defines fine-grained role, typically authorizing to single feature
2.6.1.3 What is a "Request Map"?
The Request Maps are matrices that join a role with an allowed action. Any action is in URI form (as all the Web management console is actually web based).
Assigning request maps to roles, preconfigured or new ones, let you change behavior of application in unexpected way at runtime, without changes to sources or waiting for a new release. The downside is that deep knowledge of PrivateServer internals is required, so consult with us for help or debug yourself the URL accessed from browser.
2.6.2 Managing Roles
You can access to the Roles management interface using the Role entry in the menu on the left.
After you selected it you will be redirected to the Role List page.
By default you have the following roles:
Coarse grained
- ROLE_ADMIN: grants rights to every management features of PrivateServer
- ROLE_SUPERADMIN: grants rights to very technical features and access to internal, generally not required to normal usage, even by administrator
- ROLE_TEST: management of ranges of TEST accounts, required for stress test suite to assess capability of your infrastructure
- ROLE_USER: grants rights to manage voip users and groups
Fine grained
- ROLE__RIGHT_ACCESSCONTROL: management of roles
- ROLE__RIGHT_AUDITLOG: access to auditing logs
- ROLE__RIGHT_AUTHENTICATION: access to web session logs
- ROLE__RIGHT_BACKUP: management of backup and restore
- ROLE__RIGHT_CERTIFICATE: management of digital certificates
- ROLE__RIGHT_CONFERENCE: management of conference rooms
- ROLE__RIGHT_CONFERENCE_RO: read-only access to conference rooms info
- ROLE__RIGHT_CDR: access to Call Detail Record logs
- ROLE__RIGHT_GROUP: management of groups
- ROLE__RIGHT_GROUP_RO: read-only access to group info
- ROLE__RIGHT_NETWORK: management of network-related configuration, such as net interfaces, NAT, RTP
- ROLE__RIGHT_REQUESTMAP: management of request maps
- ROLE__RIGHT_REST: provides access to web services REST requests
- ROLE__RIGHT_SIPSESSION: access to SIP sessions logs
- ROLE__RIGHT_SECURITY_INFO: access to internals info of access control framework
- ROLE__RIGHT_TELEPHONY: configuration of SIP trunks and dialing rules
- ROLE__RIGHT_USER: management of web console's users and assignment of roles
- ROLE__RIGHT_VOIPACCOUNT: management of VoIP accounts
- ROLE__RIGHT_VOIPACCOUNT_RO: read-only access to VoIP accounts info
When you create users, you can assign multiple roles to grant him/her proper right to features, depending on their duties in managing a PrivateServer installation
2.6.2.1 Create
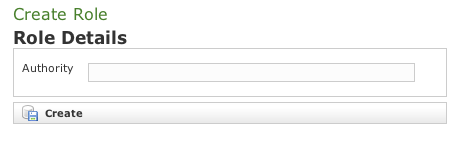
To create a new role just click on the "New Role" button on the top of the list. You will be taken to the "Create Role" form page (as shown in figure above). Insert "ROLE_LOG" in the Authority field and click Create.
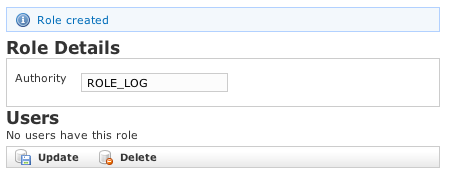
The "Edit Role" page is shown above with a label notifying you about the creation of the role and a warning in the lower part which says No users have this role.
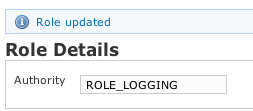
2.6.2.2 Update
Back in the "Role List", select the "ROLE_LOG" and get the "Edit Role" form. Change the "Authority" field from "ROLE_LOG" to "ROLE_LOGGING" and press "Update". The "Edit Role" form is reloaded with the updated value and a label warns you about the action.
2.6.2.3 Delete
Now click on the "Delete" button below the form. The warning pop up windows asks your confirmation. Press the Ok button to delete the Role.
2.6.3 Managing users
2.6.3.1 Create
Clicking the "User" entry in the left menu under the "Access Control" section will take you to a page like the one shown below.
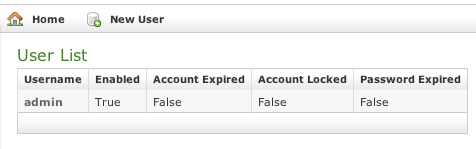
This table shows you all users. By default you should see at least the admin one. To create a new User just click on the New User button.
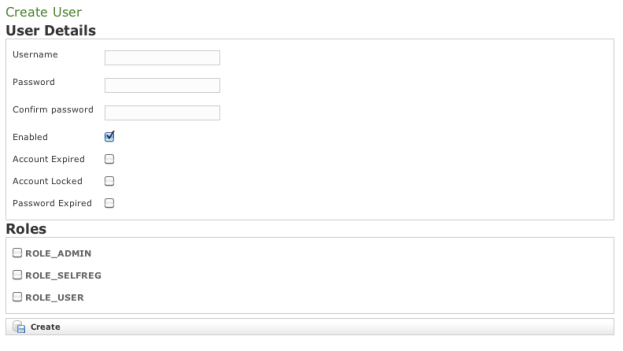
You will be taken to the "Create User" form as shown in figure above. Fill in the fields Username, Password and Confirm Password with your chosen user name. You also need to select a proper Role to be assigned. Check the chosen Role and click on the Create button.
If you do not select a strong password then you get a blocking warning complaining about a weak password.

Change the password to a stronger one (a good example is "Pr1v4t3_yes!" without quotes). A new page called Edit User is shown (please refer to figure below). This means the user was successfully created.
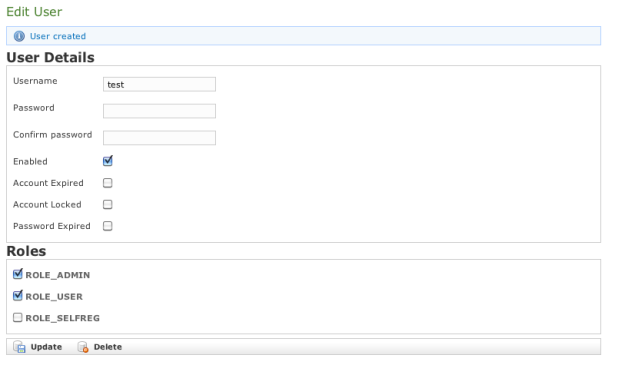
The new user is listed in the "User List" table.
2.6.3.2 Update
From the User List table select the test user to get back to the Edit User form. Change the user name from test to testone and press the Update button below. The form is reloaded with the updated field and a label appears informing that you've performed an update action. Also in the User List table shows the new user name.

2.6.3.3 Delete
Click again on the user entry (testone) from the list to get back to the Edit User form. This time click on the Delete button. A confirmation pop up window will be shown. Select Ok to be taken back again to the User list: the deleted user is not present any more.