2.3.1 Introduction
The certificates management is related to the server name and the services provided (please refer to PSAM 2.2 Network Segregation for details about the certificate assignation to a specific NIC/IP/name). In order to provide to the client a sure match of your identity you need to load and configure a secure certificate bonded to your server name (ie: name.server.tld).
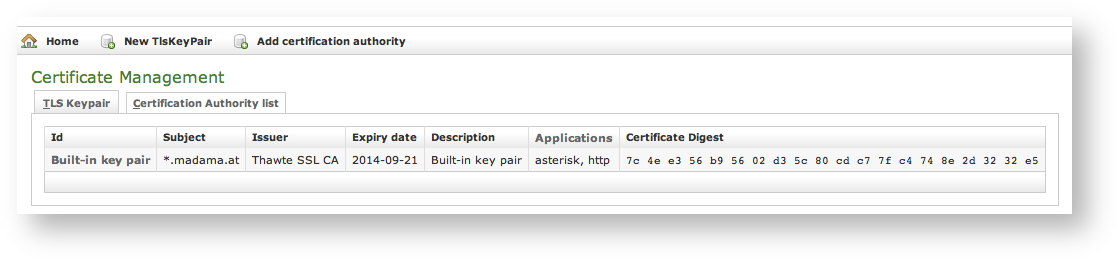
You can get the certificates configuration page using the Certificate Management link in the main menu. As shown above the default page is listing the installed TLS Keypair.
By default on the PrivateServer it's installed one "*.madama.at" wildcard certificate as shown in figure 1. Certificate configuration, default certificate installed
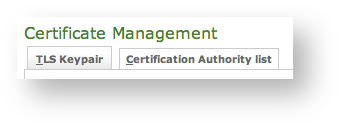
From this page you can decide to view and delete your keypairs or the Certification Authority entries, using the tabs shown in the above fig. 1. The tabs to access the two section related with the certificate management.
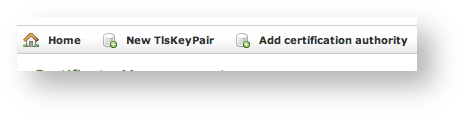
Instead if you need to create a new TLS key pair or add a new CA, then you have to use the buttons above the "TLS Keypair" list (the ones shown in fig 1. link for adding new tis keypairs or new CAs).
2.3.2 New TLS Key pair
If you need to upload a new certificate, click on the New TlsKeyPair link above the certificate table.
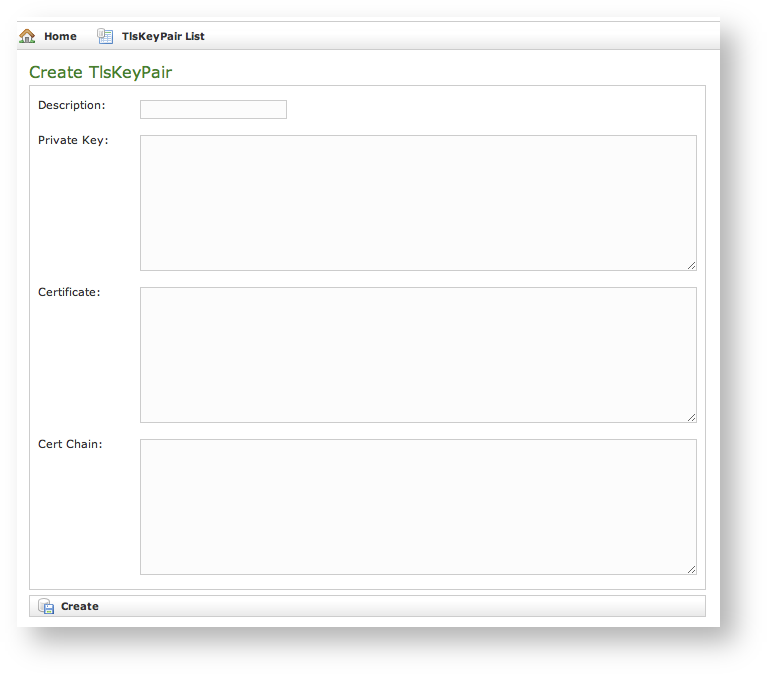
You are redirected on the Create TlsKeyPair page (it's shown in figure 2. New certificate form) where an upload form needs to be filled. Its fields are:
- Description: a generic name you choose to identify this certificate
- Private Key: your private key, provided by the signature authority
- Certificate: the certificate itself
- Cert Chain: a possible intermediate certificate used to link the certification authority to your certificate.
All the fields must be in pem format and you just copy and paste each of them in the proper field. When your' done you just press the Create button on the bottom line and the certificates are ready to be assigned to an interface/IP.
2.3.3 Add Certification Authority
You might need to upload a new CA (Certification Authority) if you tried to install a tis key pair not signed by an installed CA. This situation won't let you complete the procedure for the tis key pair creation.
2.3.4 Delete TLS key pair
If you need to upload a new certificate, click
2.3.5 Delete Certification Authority
If you need to upload a new certificate, click