...
| Info |
|---|
All the fields in above form are standard ones for creating new TLS Key pairs/Certificate Signing Requests, please refer to official documentation at |
...
| Subtitle | ||||||
|---|---|---|---|---|---|---|
| ||||||
|
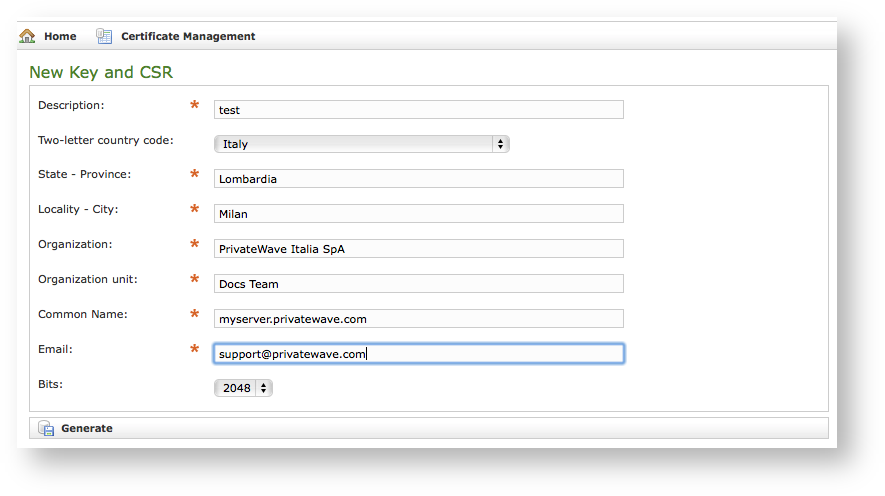
Once you're done you can just press Generate button at the bottom of the form.
| Subtitle | ||||||
|---|---|---|---|---|---|---|
| ||||||
|
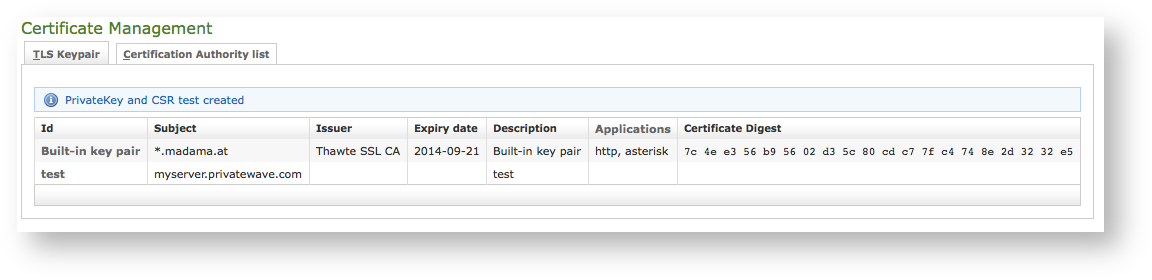
A warning confirming creation and a new row in TLS Keypair list shows generation process has been successful.
| Note |
|---|
Using this new Certificate creation process you no longer have to deal directly with Private Keys. |
Now you can download your CSR to make a Certificate Authority sign it, creating a brand new Server Certificate.
| Subtitle | ||||||
|---|---|---|---|---|---|---|
| ||||||
|
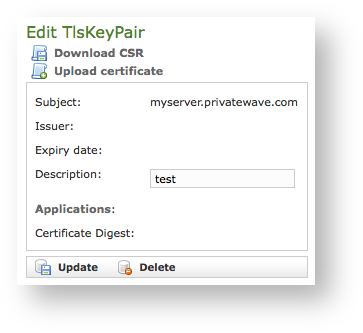
Just click on Certificate's name in main list and you get form shown in
| Xref | ||
|---|---|---|
|
| Subtitle | ||||||
|---|---|---|---|---|---|---|
| ||||||
|
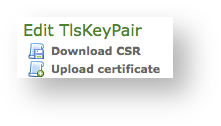
Anyway you need to Download CSR before you're done with Certificate creation, so use first link shown in detailed view
| Xref | ||
|---|---|---|
|
Once you have your CSR you just follow instructions by CA of your choice to obtain a new Certificate. As it's done, you can get back to form in
| Xref | ||
|---|---|---|
|
All the fields must be in PEM (Privacy Enhanced Mail) format and you just copy and paste each of them in the proper field. When your' done you just press the Create button on the bottom line and the certificates are ready to be assigned to an interface/IP.
| Anchor | ||||
|---|---|---|---|---|
|
...