1.0.1 What is this about?
In order to perform the service you need to configure some SIP accounts, meaning who is going to place and receive secure calls. In PrivateServer you can't create Accounts outside a Group. As there's no default group your first goal is to manage Groups.
1.0.2 Groups Management
A Group is just a container of users' accounts. It is useful to organize your users in a sort of address book, dividing them amongst departments or buildings for example.
| Tip |
|---|
There is no other use of the Groups. Each Account on your PrivateServer can call or receive calls from another one, even if they belong to different Groups. |
1.0.2.1 Create
On your left you can find the main menu, which first line reads "Groups & Accounts".
...
| Tip |
|---|
| An advisory line (in blue) informs you about the operation and gives you the group id. |
1.0.2.2 Update
To Update group's data you first have to select the group to modify. Click on the Id number down the Id column and you'll get back to the group creation form. All the field you filled can be read as when you create a new Group.
...
Change the necessary fields (ie IT Email Address or some other). When you are done just click on the Update button at the bottom of the page (
| Xref | ||
|---|---|---|
|
1.0.2.3 Delete
It's possible to drop a Group when it's no more useful. To perform a Delete action you click on the Group's name in the Group's list.
...
This time the Group list is empty and a warning line informs you about the deletion just occurred.
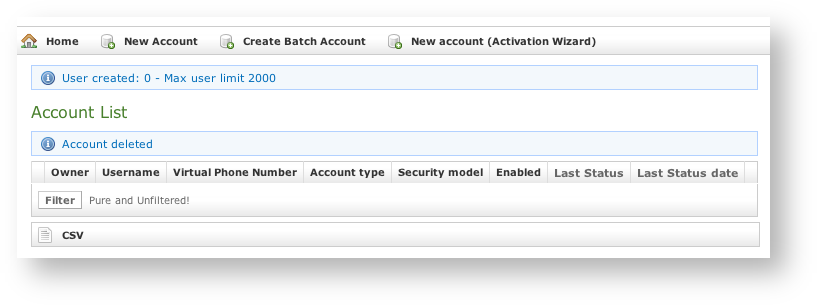
1.0.3 Accounts Management
Once you have almost one group you can fulfill it with SIP Accounts. In the Group List (
| Xref | ||
|---|---|---|
|
...
| Subtitle | ||||||
|---|---|---|---|---|---|---|
| ||||||
|
1.0.3.1 Create a new account, the plain way
The "plain way" is a completely manual creation of the account. In this way you control any feature of the account, but you also need to configure the user's client manually. This way is the opposite of the automatic activation.
...
To use the automatic activation even in the plain way go reading the paragraph 1.0.3.6.
1.0.3.2 Create a new account, the wizard way
The "wizard way" is the new method for creating accounts. It's made for easing the load on the service manager's shoulder, letting him/her focusing on the service configuration without having to bother about the installation and configuration of the client.
...
| Warning |
|---|
In the "wizard way" the user's account are DISABLED until the automatic activation is performed! |
1.0.3.2 Create a new account, the batch way
The "batch way" is an account creation mode designed specifically for large number of users to be created quickly.
...
Select the default provisioning profile and a group for the newly account created. Upload the file and click create: you'll be leaded to the Group list page
1.0.3.4 Update
To change the SIP Account values you must first select it from the Accounts List: just click on the Username and the Edit Account form is shown (
| Xref | ||
|---|---|---|
|
Change the values you need to and then click on the Update button at the bottom of the form to save the changes. The new values are shown into the Accounts' table back in the "Account List" page.
...
A line will warn you about the update.
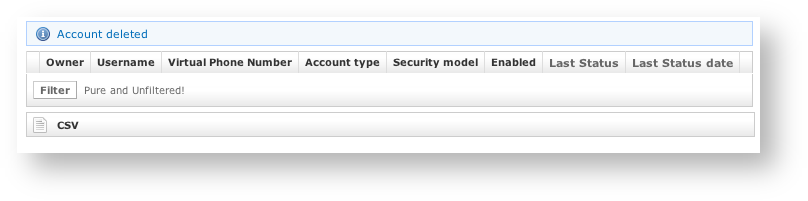
1.0.3.5 Delete
Select the Account from the Account List and get the Edit Account page. Click on the Delete button at the bottom of the page to delete the SIP Account. A warning pop up window will be shown.
...
| Subtitle | ||||||
|---|---|---|---|---|---|---|
| ||||||
|
1.0.3.6 Automatic Activation
After you created your new account(s) you have to configure the customer's client application PrivateGSM. In the wizard way it's MANDATORY to use the automatic activation in order to enable the account. In the plain way it's optional, though useful.
...